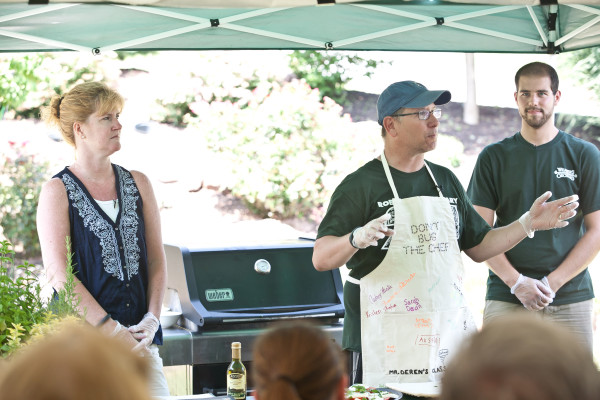
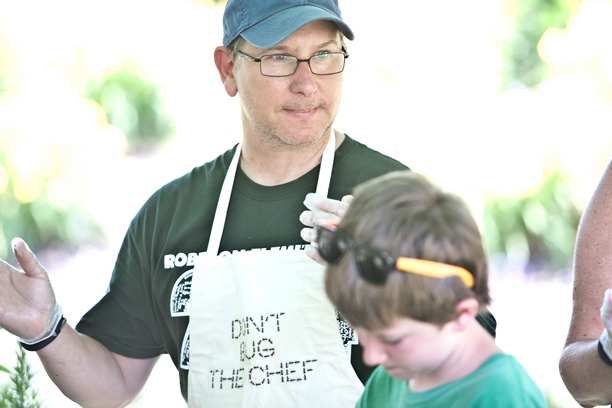
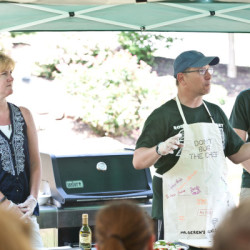
Ed Deren is known in this area as a griller extraordinaire. Even his fourth grade students at Robeson Elementary know about his talents. As he returned to Weaver’s on Tuesday, July 1 to teach his fourth grilling class at Weaver’s, he proudly wore an apron that said, “Don’t bug the chef.” It was a gift from this year’s fourth graders, signed by all his students.
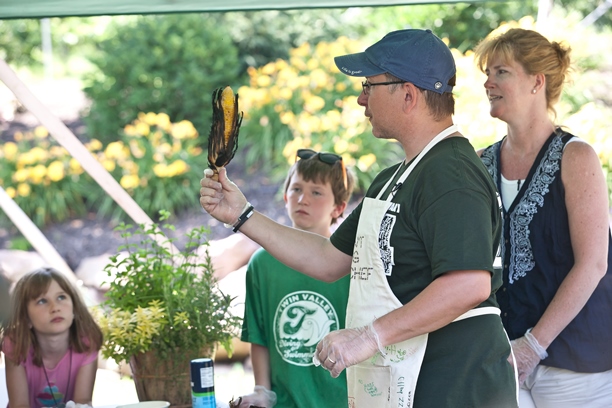
Not only is Ed a gifted teacher, griller and speaker, but he and his wife Kathleen are also an entertaining duo as they work together by the grill. As Kathleen assisted Ed, they bantered back and forth about various things, like when corn on the cob should be eaten, whether mint is an acceptable flavoring and how many grills one person should own. (Ed has four.)
And Kathleen wasn’t the only one who took part; the whole family helped with the class. The Derens’ daughter Meagan kept careful track of the time, and their son Tommy demonstrated how to grill pineapple. (My personal favorite, but more about these later.)
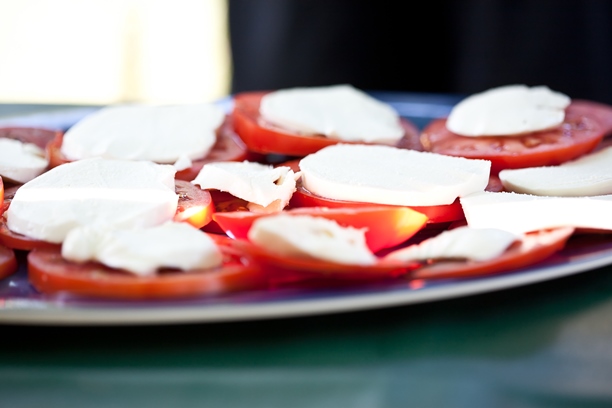
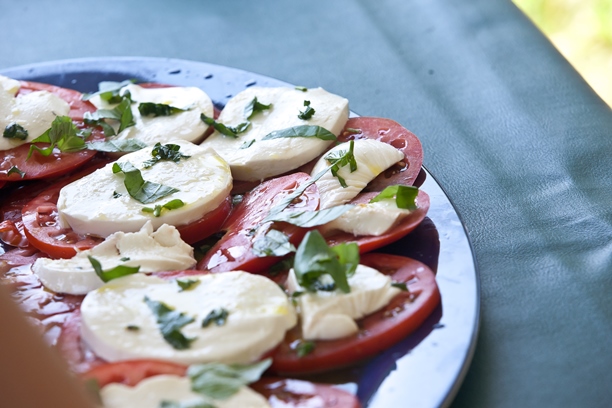
Fresh Tomato and Mozzarella Appetizer
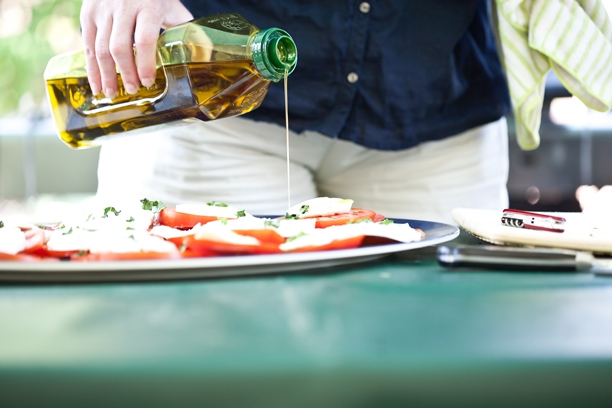
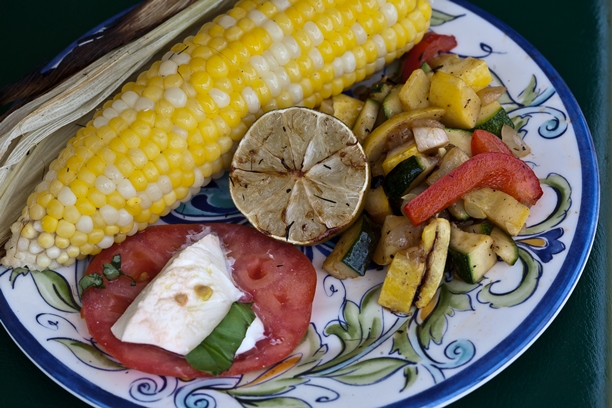
First, the Derens created an appetizer with sliced tomatoes, sliced fresh mozzarella and basil. This wasn’t grilled, but they laid out the tomatoes in a pizza shape, topped them with fresh mozzarella and basil leaves and then drizzled white balsamic vinegar, olive oil, salt and pepper on top. While they cooked the rest of the food, this dish marinated to perfection.

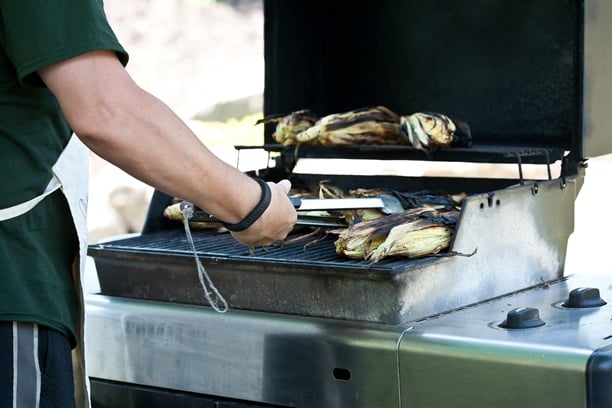
Grilled Corn on the Cob with Grilled Lime Butter
Next, Ed brought out corn on the cob they had grilled before class. It takes at least an hour to do this, so make sure to allow plenty of time at home to prepare it, but it’s so worth it!
Here’s the Derens’ method:
PrintGrilled Corn on the Cob with Lime Butter
Ingredients
- Corn on the Cob
- Smoked Paprika
- Lime
- Butter
- Salt
- Pepper
Instructions
- Peel off some of the outer husks but don’t throw them out! Peel the rest of the leaves down about half way, but don’t pull them all the way off. Take out as much silk as you can. Smooth the husks back around the ear and tie it all together with a piece of the husk. Soak the corn in a bucket for about ½ hour. Ed uses a 5 gallon pail lined with a clean garbage bag. Soaking keeps the husks from burning on the grill and helps steam the corn.
- After ½ hour, remove the corn from the water, open the ears again and season to taste. Ed and Kathleen recommend smoked paprika and onion powder for seasonings. Close the ears, re-tie them and grill on medium-high for about ½ hour. Always watch for hot spots and move the corn around so it cooks evenly.
- When the corn is done, cut a lime in half and grill it 2-3 minutes. Open the corn and squeeze the lime juice onto it. Serve with butter and salt.
Out of the four grills that Ed owns, his Weber gas grill is his favorite. Other grills he’s used have rusted out in a season or two, but his trusty Weber has lasted the longest.
Grilled Vegetables
The day before the class, Ed chopped and mixed together a large bowl of raw vegetables, all while watching the World Cup, which just shows that it doesn’t take a lot of concentration to do this! He then tossed the mixture in olive oil and smoked paprika. It’s nice to know this simple, crowd-pleasing dish can be partially prepared a day ahead.
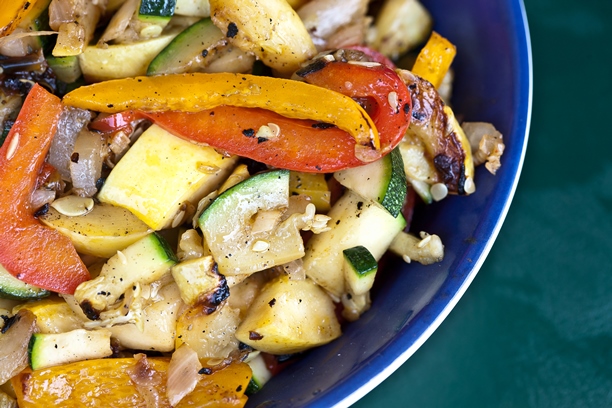
A grilling basket is highly recommended for this recipe. It allows the veggies to cook evenly and keeps them crisp. The Derens don’t recommend wrapping the veggies in foil because this will steam the vegetables and make them mushy.
Any mixture of fresh vegetables will work, and amounts can vary. The Derens recommend squash, zucchini, red, yellow or orange peppers and mushrooms, along with spring onions and garlic. Green peppers can give too strong a flavor, and eggplant can get too soft.
Grill in a grill basket at medium high heat, pouring the mixture into the basket and closing the grill’s lid. Flip after 3 minutes, moving the veggies around in the basket so they cook evenly. When they are al dente, remove them from the heat.
PrintGrilled Vegetables
Ingredients
- Squash
- Zucchini
- Red, yellow or orange peppers
- Mushrooms
- Spring onions
- Garlic
- Olive oil
- Smoked paprika
Instructions
- Chop the vegetables and toss with olive oil and smoked paprika.
- Any mixture of fresh vegetables will work, and amounts can vary. The Derens recommend squash, zucchini, red, yellow or orange peppers and mushrooms, along with spring onions and garlic. Green peppers can give too strong a flavor, and eggplant can get too soft.
- Grill in a grill basket at medium high heat, pouring the mixture into the basket and closing the grill’s lid. Flip after 3 minutes, moving the veggies around in the basket so they cook evenly. When they are al dente, remove them from the heat.
Grilled Portabella Mushrooms with Goat Cheese
Next, the Derens brought out marinated portabella mushrooms and grilled them to perfection. The night before serving this, remove stems from the mushrooms and turn them rounded side down. Place thinly sliced garlic on top, drizzle with olive oil, and sprinkle with onion powder, smoked paprika, a little salt and pepper. Marinate overnight.
When ready to grill, cut a red pepper in half (one half for each mushroom). Place the mushrooms rounded side down on the top rack at medium high heat for about 7 minutes, or grill them on direct heat for about 3 minutes, till the mushrooms start to wilt. Place the red peppers directly on the grill for about 5 minutes while the mushrooms continue to cook. After about 3 minutes, add crumbled goat cheese to the mushroom tops. Remove from heat and place a pepper half on top. Total cooking time for the mushrooms should be 15-20 minutes on medium-high heat.
Kathleen added some tips for making goat cheese extra tasty: Crumble the cheese onto aluminum foil rubbed with a little olive oil. Grill for about 10 minutes, until the cheese gets slightly charred. Use it for this recipe, try it on salads—or be adventurous!
PrintGrilled Portabella Mushrooms with Goat Cheese
Marinate Overnight
Ingredients
- Portabella Mushrooms
- Garlic cloves, sliced
- Olive oil
- Onion Powder
- Smoked Paprika
- Salt
- Pepper
- Red Bell Pepper
- Goat Cheese
Instructions
- The night before, remove stems from the mushrooms and turn them rounded side down. Place thinly sliced garlic on top, drizzle with olive oil, and sprinkle with onion powder, smoked paprika, a little salt and pepper. Marinate overnight.
- When ready to grill, cut a red pepper in half (one half for each mushroom). Place the mushrooms rounded side down on the top rack at medium high heat for about 7 minutes, or grill them on direct heat for about 3 minutes, till the mushrooms start to wilt. Place the red peppers directly on the grill for about 5 minutes while the mushrooms continue to cook. After about 3 minutes, add crumbled goat cheese to the mushroom tops. Remove from heat and place a pepper half on top. Total cooking time for the mushrooms should be 15-20 minutes on medium-high heat.
- Tip: Crumble the cheese onto aluminum foil rubbed with a little olive oil. Grill for about 10 minutes, until the cheese gets slightly charred. Use it for this recipe, try it on salads—or be adventurous!
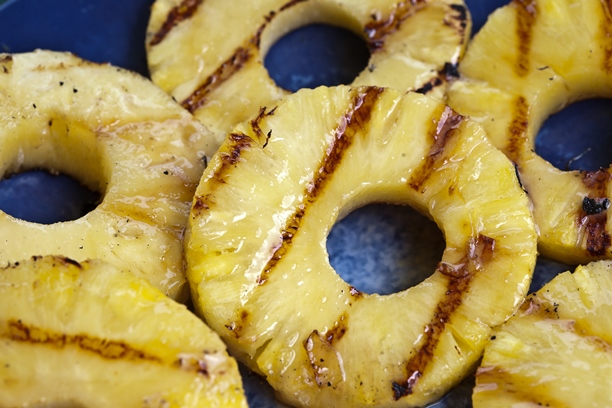
Grilled Pineapple in Honey Butter
Next, the Derens’ son Tommy demonstrated how to make grilled pineapple. Tommy has obviously been well taught by his parents and is on his way to becoming an excellent chef. This was my favorite of the samples—sweet and tangy and dripping with juice.
Here’s how he does it:
PrintGrilled Pineapple
Ingredients
- 1 Pineapple
- Honey
- Butter
Instructions
- Remove the core and rind from a fresh pineapple.
- Slice it into fairly thick slices (about ½ to an inch thick).
- Mix together two tablespoons butter and two tablespoons honey. Stir till combined.
- Place the pineapple on the grill on high heat.
- After three minutes, flip the slice once, brush on the honey butter.
- Close the grill to let the fruit soak in the flavor of the honey butter and cook three minutes more.
- If the slices turn a little black, it’s okay.
- The fruit is kind of like a marshmallow; it’ll be toasted on the outside but warm and sweet on the inside.
Remove the core and rind from a fresh pineapple. Slice it into fairly thick slices (about ½ to an inch thick). Mix together two tablespoons butter and two tablespoons honey. Stir till combined. Place the pineapple on the grill on high heat. After three minutes, flip the slice once, brush on the honey butter. Close the grill to let the fruit soak in the flavor of the honey butter and cook three minutes more. If the slices turn a little black, it’s okay. The fruit is kind of like a marshmallow; it’ll be toasted on the outside but warm and sweet on the inside.
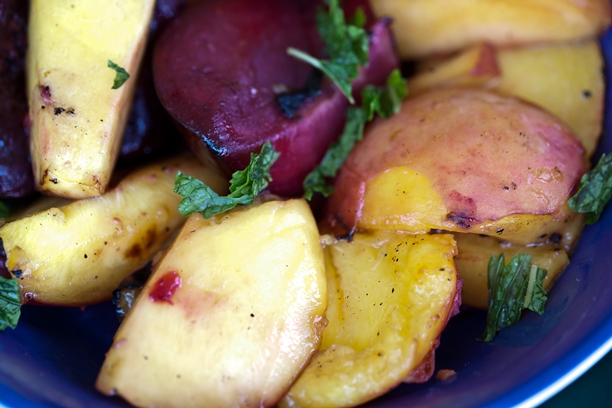
Grilled Peaches, Nectarines and Plums
The Derens finished off the class by grilling peaches, plums and nectarines. According to Ed, freestone peaches work best for this recipe, but until freestones ripen in mid-August, you can use clingstone. The ones they grilled were very tasty.
PrintGrilled Peaches, Nectarines & Plums
Ingredients
- Peaches
- Plums
- Nectarines
Drizzle with: - Honey Butter
- Blackberry Mint Lime Vinaigrette (available at Weaver’s Orchard)
- Your own mixture of lime juice, lime zest, honey and mint leaves
Instructions
- Cut peaches, plums and/or nectarines into slices. If they will be sitting out for a while, pour a little lemon or lime juice on them to prevent discoloration. Place them on heavy duty foil on the grill for 3 minutes, till they brown.
- Then drizzle with one of the following: honey butter (above), a Blackberry Mint Lime Vinaigrette or your own mixture of 2-3 tablespoons of lime juice, lime zest, honey to taste and mint leaves. Continue to brown the fruit for a minute or two, to allow the sugars to caramelize.
Cut peaches, plums and/or nectarines into slices. If they will be sitting out for a while, pour a little lemon or lime juice on them to prevent discoloration. Place them on heavy duty foil on the grill for 3 minutes, till they brown.
Then drizzle with one of the following: honey butter (above), a Blackberry Mint Lime Vinaigrette or your own mixture of 2-3 tablespoons of lime juice, lime zest, honey to taste and mint leaves. Continue to brown the fruit for a minute or two, to allow the sugars to caramelize.
Grilled fruit is the perfect ending for a perfect cookout!
Grilling Hints from the Derens:
- Grills have hot spots, so make sure you know where they are. Move the food around to heat it evenly and avoid overcooking.
- Timing is important. Meagan kept close track of the time during the class so Ed would not have to open the lid too often. This allowed him to keep the temperature as consistent as possible.
- In general, they recommend adding salt at the end, when food is cooked, so the food won’t be overly salty.
- Sauces containing sugar should be brushed on after cooking. Barbecue sauce, for instance, will burn.
Cleaning the grill:
When he finishes grilling, Ed scrapes the grates while they’re hot and lets the residue burn off. When the grates are cool, he rubs oil onto them, so his grill is seasoned and ready for the next meal.