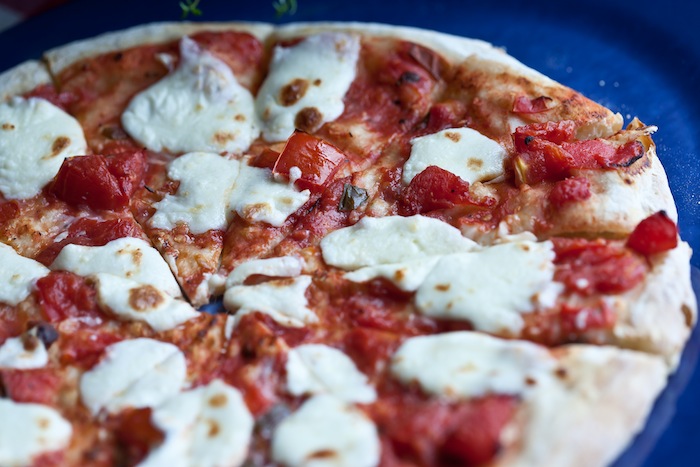
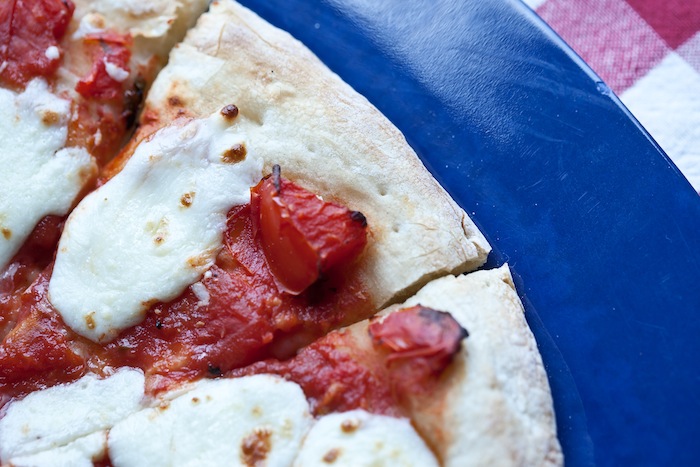
Call it serendipity–a “fortunate happenstance.” Brian and Elizabeth Licitra invite David and Rachel VanDuzer over for homemade pizza. Rachel happens to bring along some freshly made bruschetta. Brian suggests topping the pizza with bruschetta and voila! Bruschetta pizza! A match made in culinary heaven!
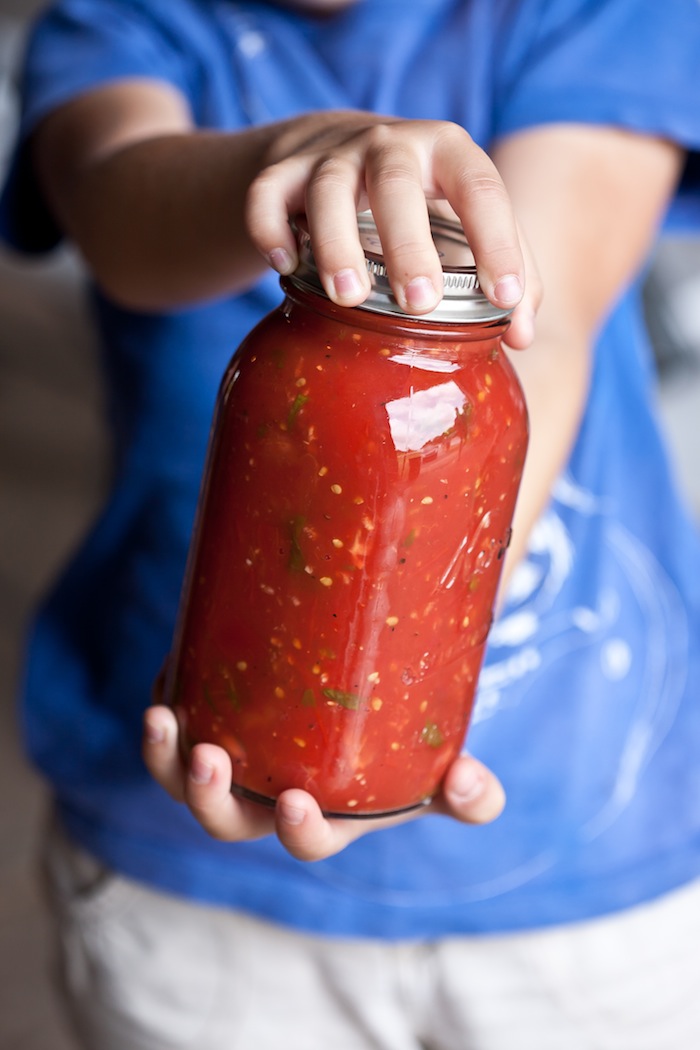
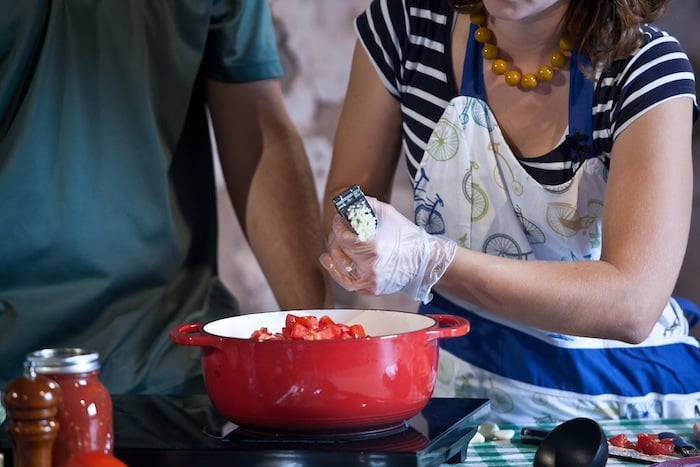
On Tuesday, July 22, Rachel showed the audience at a Weaver’s Orchard summer cooking class how she makes her bruschetta. She also gave tips on canning, and treated us to Eggplant Cannelloni, to keep our stomachs from growling as we awaited the bruschetta pizza. Rachel, Marketing Coordinator at Weaver’s Orchard, not only manages communication for Weaver’s, but also loves to garden and perfect her own recipes through her food blog, Rachel’s Farm Table. After planting 48 tomato plants with Elizabeth Weaver last season, she gained plenty of experience canning all kinds of tomato concoctions. (The Weavers are serious when it comes to gardening.) This bruschetta recipe is so versatile that Rachel plans to develop a cookbook with recipes for Easy Bruschetta Meals using canned bruschetta in recipes like Tomato Galette, Tomato-Spinach Pasta and the proceeding recipes for Eggplant Cannelloni and bruschetta pizza.
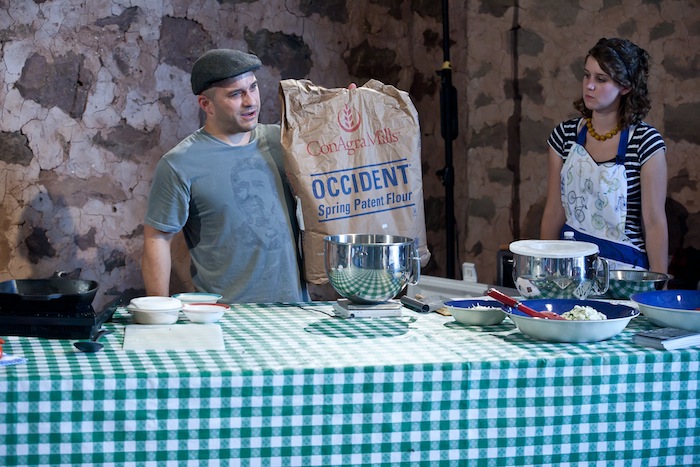
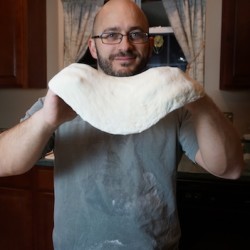
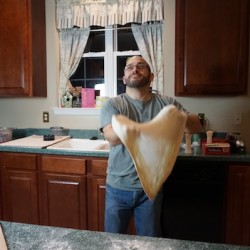
While Rachel prepared a batch of bruschetta on Tuesday, Brian slipped behind the scenes to bake the pizza. After Rachel’s presentation, he let the audience in on some of his secrets while demonstrating his dough-making method. Though he’s a cabinetmaker by trade, he tosses pizza in the air like a true Italian master. Very impressive!
Here are Rachel’s recipes:
PrintFresh & Canned Bruschetta Recipe

*DISCLAIMER* I have tested this recipe and found that it falls well within safe pH levels. However, since pH levels vary, the USDA recommends using 2 tablespoons of vinegar per quart of tomatoes. I recommend testing the PH of your sauce to make sure it is at 4.5 or below. Use other precautions, such as washing your tomatoes in a vinegar-water solution, using only blemish-free tomatoes and processing for the recommended amount of time.
- Prep Time: 30 mins
- Cook Time: 40 mins
- Total Time: 1 hour 10 mins
- Yield: 5 quarts 1x
- Cuisine: Italian
Ingredients
- 20 cups tomatoes, chopped and drained
- 20 garlic cloves, minced
- 1 cup fresh basil leaves, chopped
- 4 teaspoons sea salt
- 4 teaspoons freshly cracked black pepper
- 1/4 cup white balsamic vinegar
- 2 cups tomato paste
Instructions
- Wash tomatoes thoroughly in a solution of 10 parts water, 1 part vinegar. Only use blemish-free produce in canning.
- Chop tomatoes and basil, mince garlic. If desired, drain tomatoes. Combine tomato and basil with all other ingredients. If serving fresh, serve at this stage. If canning, proceed to next step.
- Bring mixture to a boil, simmer 5 minutes. Follow water bath canning instructions. Makes 5 quarts/10 pints.
Water Bath Canning Instructions
- Sterilize jars by washing them in the dishwasher just prior to canning.
- Fill canner with water (approximately half full) and allow water to heat to boiling.
- Place jars at the top of canner (not submerged) to allow steam to warm them. This will prevent jars from breaking when filled with hot liquid.
- Place lids and caps into a separate pan of hot (not quite boiling) water. Keep hot until ready to use.
- Pack hot bruschetta into jars allowing half-inch head space at the top of the jar.
- Wipe tops & threads of jar. Place caps on the jars, screw the jars closed tightly.
- Place jars into canner. Water should be two inches above jars.
- Bring water to a boil. Reduce heat, holding water at a gentle boil. Start timing process after water has reached a boil. *The USDA recommends processing quarts of tomato sauce for 35 minutes.
- Remove jars from canner. Set jars upright and allow to cool (24 hours).
- Test to be sure each jar is properly sealed. If lid center is down and will not move, jar is sealed.
Eggplant Cannelloni
- Category: Main Course
- Cuisine: Italian
Ingredients
- 2 eggplants
- Sea salt & black pepper
Filling
- 2 cups ricotta cheese
- 1 cup shredded mozzarella cheese
- ½ cup grated Parmesan cheese
- 1 cup spinach, chopped
- ¼ teaspoon black pepper
- 1 teaspoon minced garlic
- 1 teaspoon dried oregano
Topping
- • ½ cup mozzarella, cut into thin strips
- • A handful of basil leaves, sliced
Instructions
- Slice eggplant into paper-thin round sections. Pat off excess liquid with a paper towel to remove bitterness from the eggplant. Sprinkle with salt and pepper if desired.
- Grill on a non-stick grill pan at medium-high heat, about 2-3 minutes per side until it begins to soften and you see nice grill marks on the eggplant.
- Meanwhile, combine all filling ingredients.
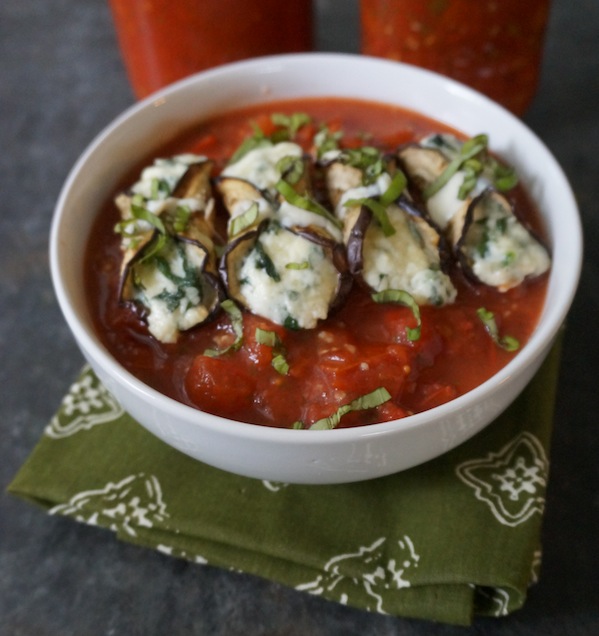
- Place a generous spoonful of filling into each eggplant circle, roll up each end (like a taco) and place one slice of basil and one thin strip of mozzarella on top.
- Bake at 400 for 15-20 minutes, until mozzarella is golden brown.
- Serve over hot bruschetta, with or without pasta.
Here are some of Rachel’s tips and favorite kitchen tools:
Tomatoes
To make tomato-cutting easier, keep your knives sharp with a knife sharpener.

Remover the stem section easily with a tomato huller.
When canning tomatoes, it’s best to use #1 blemish-free tomatoes. #2 tomatoes can be bruised or split and can contain bacteria that may not be killed in the canning process.
Canning guidelines have changed. While once considered acidic enough to prevent the growth of microorganisms, tomatoes’ acidity level can actually vary. When canning tomatoes, lemon juice or vinegar should be added to ensure the pH is low enough to prevent bacteria growth. Rachel uses white balsamic vinegar. It’s a little sweeter than traditional balsamic and its honey color will not darken the tomato mixture.
Plum tomatoes are less juicy and more meaty than other tomatoes–perfect for bruschetta.
Rachel leaves the skin on the tomatoes; removing them is labor-intensive, and besides, the skins contain nutrients. Just be sure to thoroughly clean them in a solution of 1 part vinegar and 10 parts water.
Tomato Paste
Rachel adds tomato paste to thicken the canned bruschetta. She often makes her own following these instructions
[button link=”http://localfoods.about.com/od/condiments/ss/tomatopaste.htm” bg_color=”#8e0114″ border=”#8e0114″]Get Tomato Paste Recipe[/button]
Garlic
A garlic press will mince your garlic nicely and keep your hands odor-free.
Basil
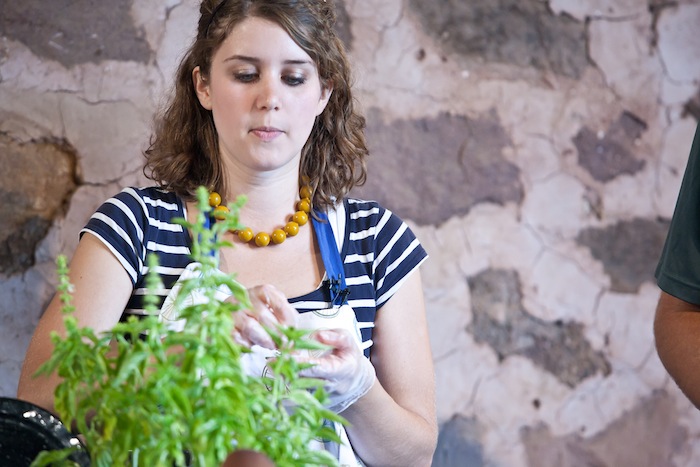
When picking basil, the leaves on the bottom of the plant are the powerhouse, giving the plant its energy. So try to keep those leaves untouched, and pick from the top.
When the plant begins to flower, the leaves then contain the maximum amount of oil, so they are the most flavorful. However, to keep the plant from putting all its energy into developing seeds, snip the flowers off.
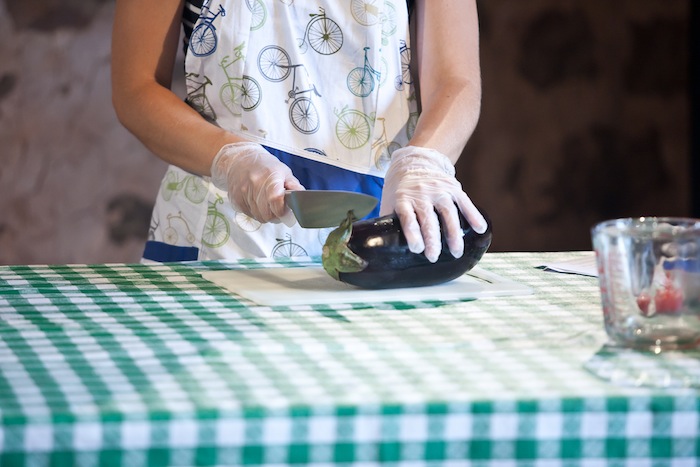
Eggplant
Buy eggplant that is firm, and not shriveled or soft.
If eggplant is fresh, it should not be bitter and the skin should not be tough.
If pureeing eggplant, remove the skin.
Spinach
If you can’t use all the fresh spinach you buy, you can put it in a sealed bag, freeze it, and use it within a couple of weeks.
After Rachel’s presentation, Brian taught the audience his pizza-making technique.
Artisan Pizza Dough
Makes five 12 inch pizza crusts.
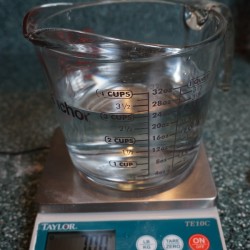
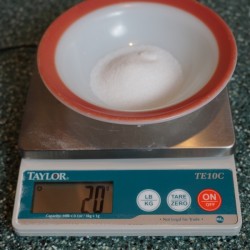
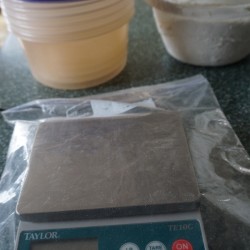
*Note: the dough has to rise overnight (12-14 hours) and is best when consumed 1-14 days after rising. The rich flavor develops during the long fermentation process. The dough may be used for pizza, foccacia or Italian bread. Brian weighs his ingredients on a food scale because weight is constant. When measuring flour, for instance, cup volume can vary, depending on how firmly the flour is packed. However, cup equivalents are given here, in case you cannot weigh the ingredients. Brian uses bakery flour, which he buys in 50-pound bags, but also recommends King Arthur all-purpose unbleached flour. He does not recommend bread flour for this recipe.
- Category: Main Course
- Cuisine: Italian
Ingredients
- Dough
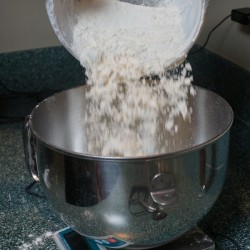
- 7 cups (lightly scooped) (1000 grams) flour
- 3 cups (700 grams) lukewarm water
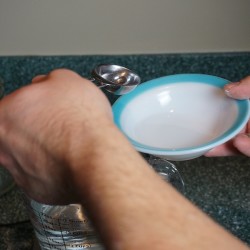
- 1/4 teaspoon instant dry yeast (not quick rising)
- 1 heaping tablespoon (20 grams) salt
Topping - Bruschetta
- Fresh mozzarella
Instructions
- Day 1:
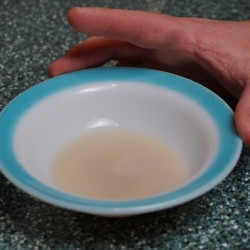
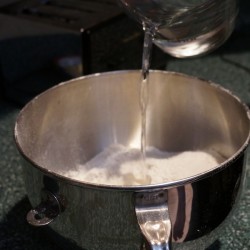
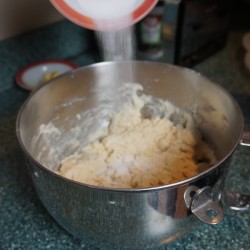
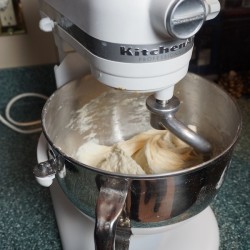
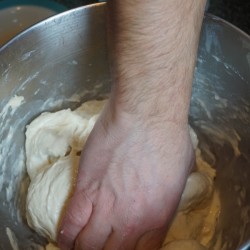
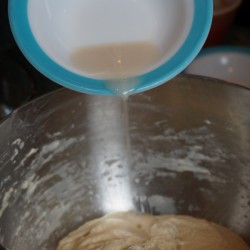
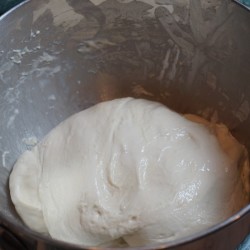
Remove about 1/4 cup of the lukewarm water from the measured 3 cups of water and combine with yeast in a small bowl. (If the dough will be rising in a cool place, add a little more yeast.) - Hydrate the flour by mixing flour and remaining water together in a stand mixer for about 30 seconds. If you have a Kitchen Aid mixer, the cookie dough paddle works well for this. Mixing can also be done by hand, but it will take longer and the dough may be lumpy. As the dough ferments, the lumps will disappear.
- Cover the flour and water mixture and yeast and let sit at room temperature, covered, for 30 minutes so that both the flour and the yeast are hydrated in their respective mixtures.
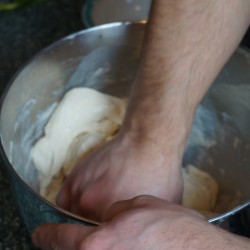
- After 30 minutes, sprinkle salt on top of flour mixture. Move the mass of dough to the side and add the yeast into the bottom of the mixing bowl. Mix together until the yeast and salt are thoroughly incorporated using the “cut and fold” method.
- Let this mixture sit, covered, for another 30-60 minutes.
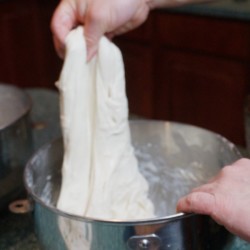
- Wet hands. Stretch dough until it resists and then fold in on itself. Repeat 3 more times and then let it rest 15-30 minutes. Repeat. Let dough sit on countertop, covered overnight or for 12-14 hours.
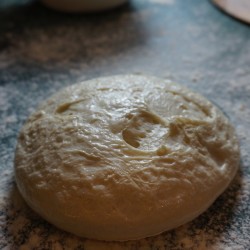
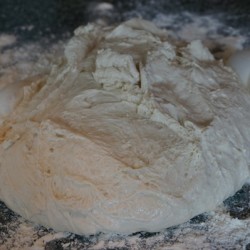
Day 2:
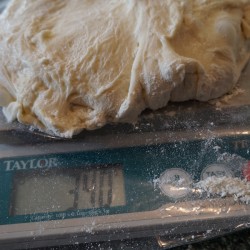
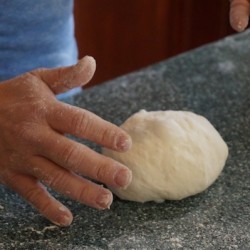
- After 12-14 hours, generously flour work surface and place dough on counter. Keep hands floured and flour dough. Measure into five equal dough balls (~340 grams each).
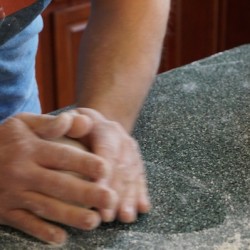
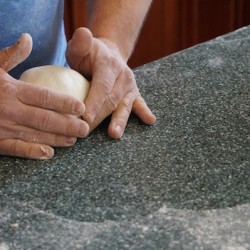
- Hold dough with both hands and circle into a tight sphere on the floured surface to lock in the air bubbles.
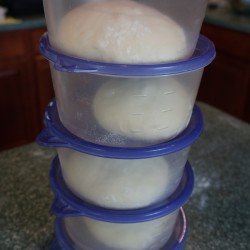
- Transfer to 5 containers (approximately 6 cups). Round disposable plastic containers with lids work nicely. The dough can be frozen at this point. On the day you plan to use it, let it defrost on the counter until it’s warm enough to handle.
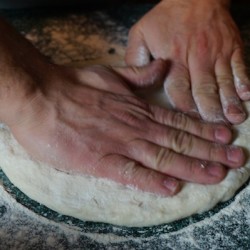
Day 3-14:
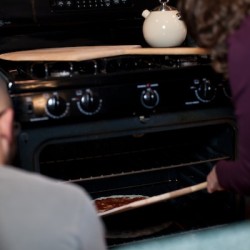
- Preheat oven to 500-550 with 15″ pizza stone in it. (As hot as the oven will go). The stone should be in the preheated oven for at least 15 minutes before baking the pizza.
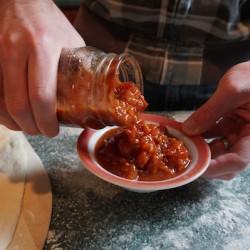
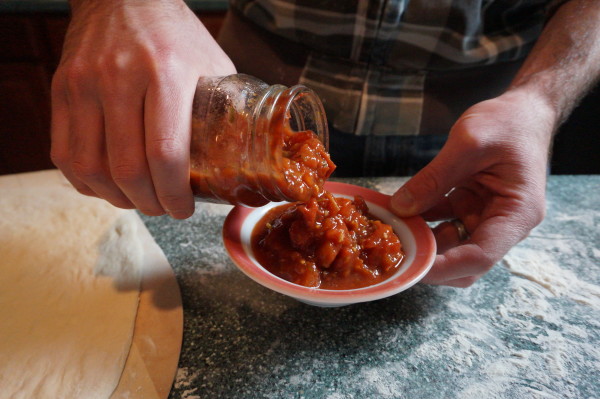
- Prep all your topping ingredients, such as bruschetta or crushed tomatoes.
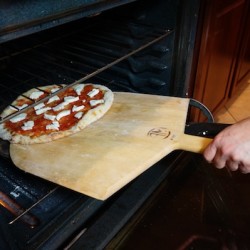
- Flour surface and 17″ pizza peel. Flour dough, turn over, press out to even thickness. Let it rest one minute.
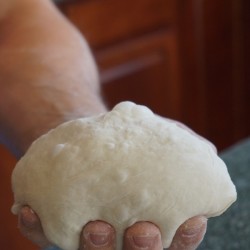
- Toss the pizza dough – hold it on the backs of hands and toss and twirl it until it stretches out to about a 12 inch pizza.
- For the next step, keep the dough on the pizza peel (you’ll need to shimmy it onto the hot stone later using the peel). If you don’t have a pizza peel, or don’t trust yourself to slide it onto the stone successfully, place the dough on an aerated pan. (This will still make a crispy crust.)
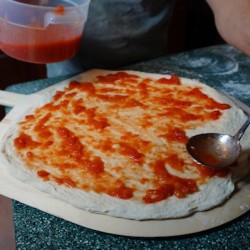
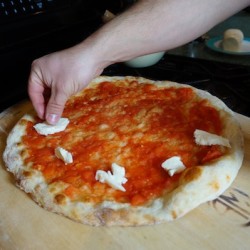
- Thinly spread sauce onto dough. Less is more with sauce. If using crushed tomatoes, add desired salt, garlic or herbs. If using bruschetta, all the salt, garlic and basil is already in the sauce.
- If the dough is on the peel, carefully shimmy it onto the hot stone. If it’s on an aerated pan, place the pan directly on the stone in the oven.
- Bake 5-6 minutes until it starts to brown.
- Remove from the oven and add small chunks of fresh mozzarella. Bake an additional 3-4 minutes until cheese melts.
- Top with fresh herbs.
- If you don’t have a pizza stone, you can use a smaller portion of dough and make pan pizza in a seasoned cast iron frying pan. Don’t preheat the pan; just add 5 minutes to the cooking time. Place the dough in the pan. Add tomato topping. Bake 10-11 minutes. Remove from oven, add cheese, then bake 3-4 more minutes.
Pizza Dough: Day 1


Pizza Dough: Day 2
The next morning (or 12 hours later), follow these instructions:

Pizza Dough, Days 3-14