Now that I am back to my teaching job at Twin Valley High School, I am only at Weaver’s Orchard in pick-your-own on Saturdays. While I love teaching, I will admit it is hard to trade in the crisp autumn air of these late October days, the vibrant changing leaves, and periodic sightings of blue jays and other songbirds migrating for dress pants, a button down shirt, and a tie.
The fall makes me realize I miss my summer conversations with customers and finding out what they’re going to be doing with what they’ve picked. I miss the exchanging of ideas, techniques, and memories around the food that connects us in that moment.
Therefore, it doesn’t surprise me that I consistently find myself talking to the Saturday PYO crowd about what they plan on doing with their fruit. As the harvest season at Weaver’s Orchard begins to wane for the 2018 growing season, there is one thing that seems to be consuming the minds of many of our patrons and staff members: how to store the bounty of this year’s fantastic crop? With the summer crops, many people focus on fresh, exciting ways to use what they pick. However, as we move into the fall, canning comes more and more to the forefront of conversation.
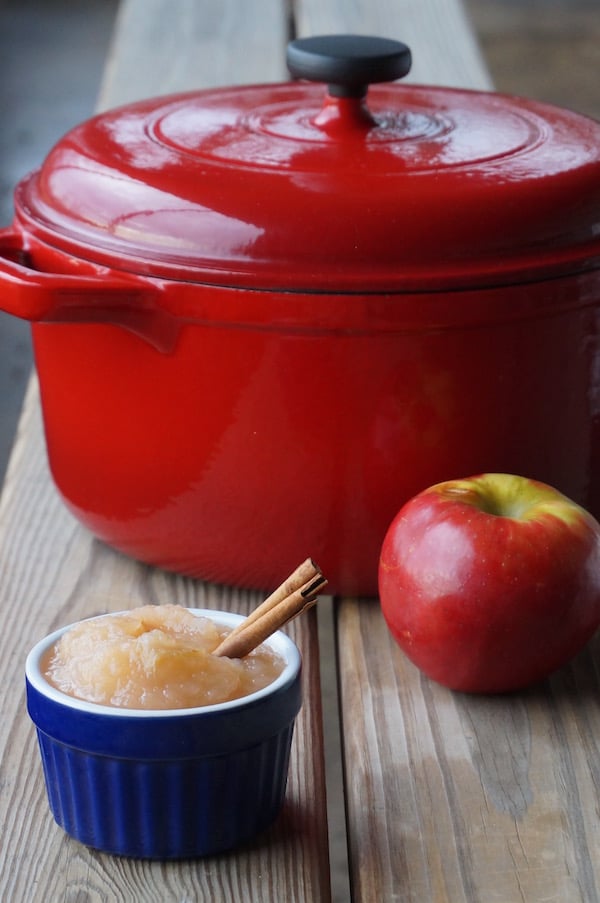
Canning is an art rooted in tradition and memories for many, but it’s equally a source of angst or a journey into the unknown for others. As a young person I can remember helping my mom can many things throughout the growing season. In the early summer we would can jellies and jams as berries came into season. As we moved into the summer and fall our options increased. The summer brought salsa, tomato products, and peaches. When the fall rolled around we miraculously had enough mason jars left to can pears, applesauce, and apple pie filling.
Considering this is what was normal for me as a young person, the thought of canning now doesn’t intimidate me. I understand that a lot of time, energy, and supplies go into the process, but it is worth it!
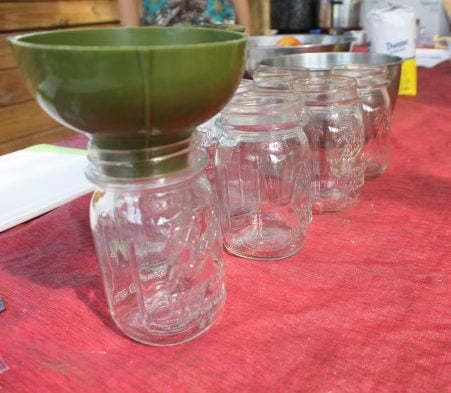
Learning to Preserve Food
My suggestion to the PYO customers and friends who ask about it is: know the basics, start small, grab a friend or two, and be creative!
It’s important to respect canning as a means by which food is preserved. Anyone and everyone, beginner or experienced in the ways of canning, should follow basic sanitation rules and guidelines. Go to FreshPreserving.com for help on how to get started and become informed as to what you will need to get the job done right the first time. Most people will find the water bath canning method to be easier and more attainable with the equipment they already have at home. Growing up, this was the method we most often used, and therefore the following recipes with some new spins I have on them will all be compatible with the water bath method.
People always talk about how great it is to get some homemade canned jams or preserves during the holiday season, and I couldn’t agree more! However, I often appreciate how canned goods such as applesauce or a pie filling can help me save time when I’m in a pinch.
Following my advice from above, start small, grab a friend and get going! The great thing about a lot of canning is that although there is quite a bit of prep work up front; cleaning the produce and your equipment, as well as the pealing, chopping, dicing, and or slicing – what is amazing is that once it’s done, it’s done! A day of hard work can yield many quick desserts, thoughtful gifts, or impressive sides all from high quality fresh ingredients during their peak!
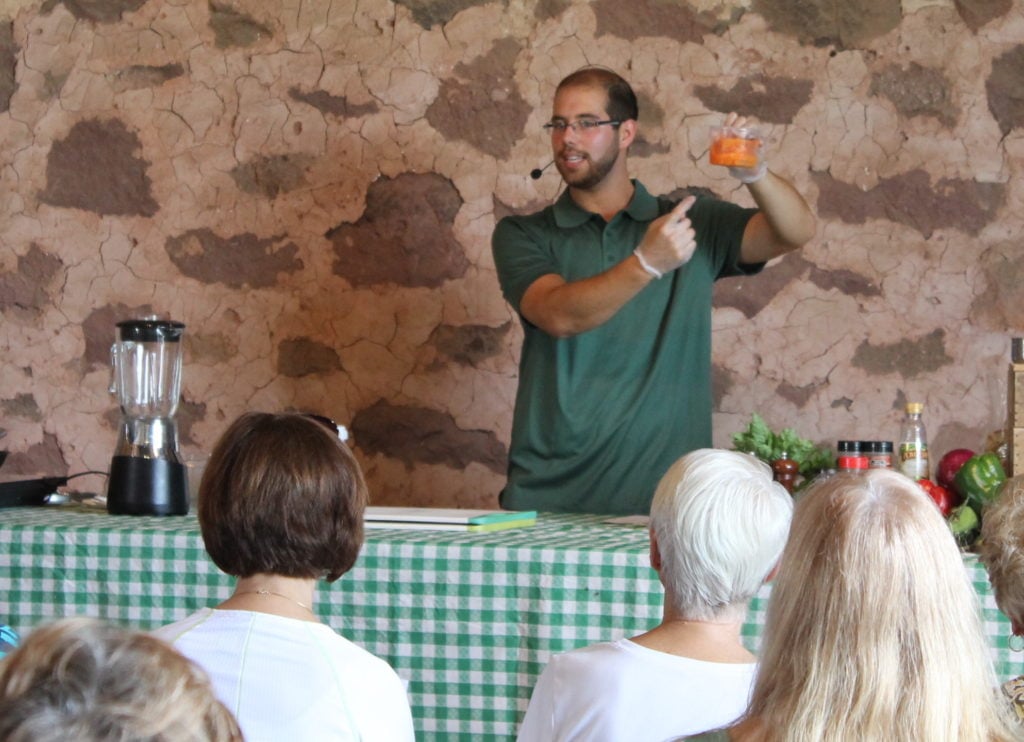
New Twists on Classic Recipes
Now, in my opinion there is nothing wrong with the classics I’ve referenced above, but I like to get creative with my food. The first ever thing I canned on my own was peach jam with mint in it. While a lot of my friends and family were unsure about how it would taste, I followed the basic recipe and made only a few slight changes resulting in a new, fresh, more versatile flavor that I was proud to give away and share. If you start in small batches, then it’s alright if you do have a small flop or realize something didn’t turn out as fantastically as you imagined, and you can make modifications as you go next time.
For fall canning I appreciate and look forward to three things: apple sauce, pie fillings, and apple butter. You can find our own recipes for applesauce and apple pie fillings in our Blog & Recipe tab on the homepage for two outstanding products that are tried and true!
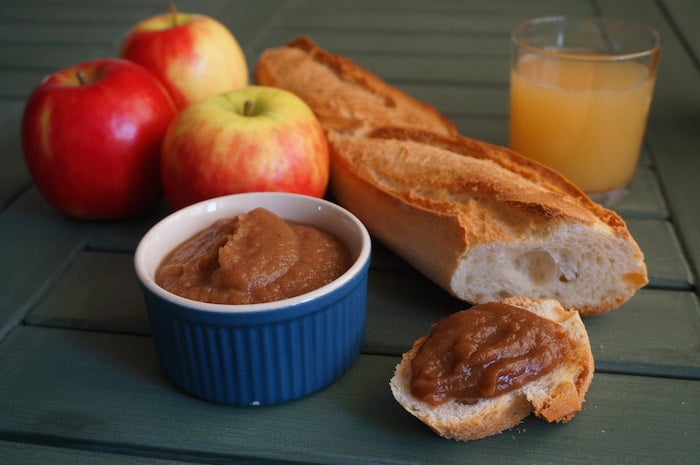
Apple Butter
For an easy and fantastic canned apple butter, I use the recipe found at A Modern Homestead. What I love about this method is that you slice up a random collection of four or five pounds of apples, throw them in the crockpot, and let them do their thing. Unlike so many canning recipes, this is good to go on its own, left alone for hours. Put the apples, sugar, and other warm spices together and let it go for between eight to twelve hours. The longer you wait, the more caramelization will develop, resulting in a deeper, richer flavor.
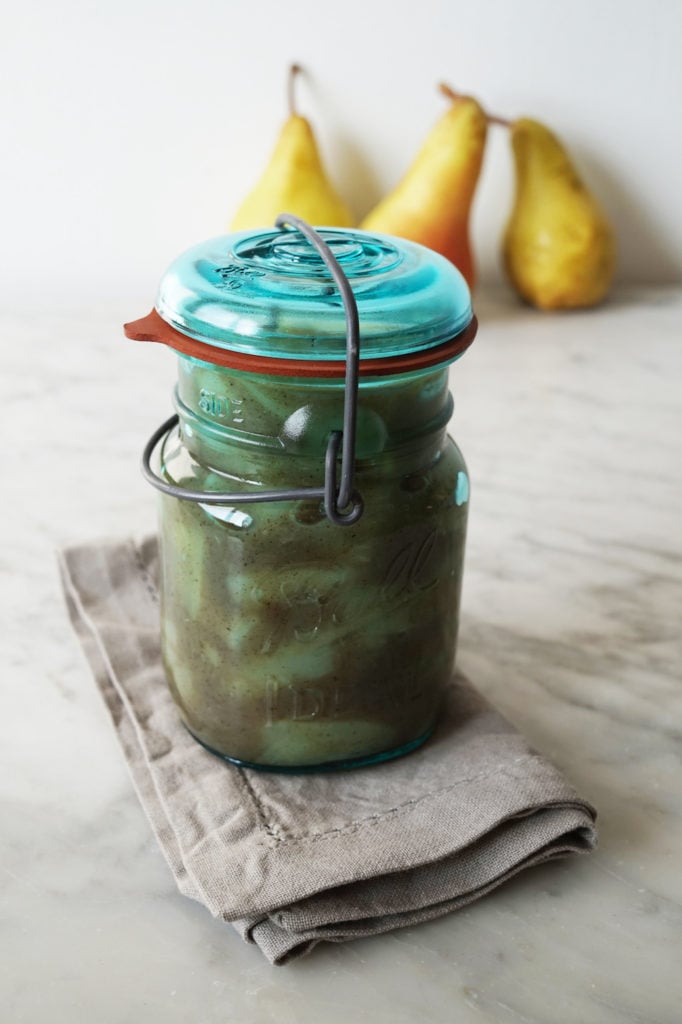
Vanilla Bean Pear Pie Filling
My final fall suggestion to try out this year is a modification to our Apple Pie Filling Recipe. I was inspired to create this filling by a customer I was chatting with last year. He was picking pounds and pounds of pears and I asked him what he did with them.
He said, “Well, of course we’ll can some in syrup for the kids and eat most of them fresh. But my wife loves to make a vanilla bean pear pie.”
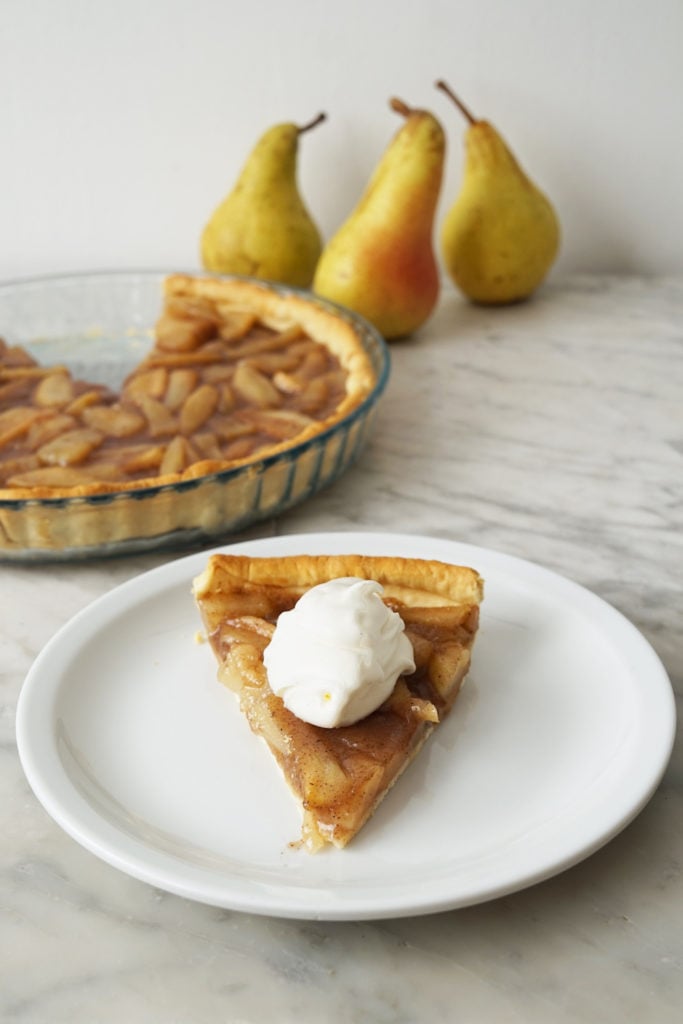
I had never heard of it and was instantly intrigued. I did make a pie using a store bought crust, fresh pears, warming spices usually associated with an apple pie and half a vanilla bean scraped out and mixed into the filling, and it was truly fantastic. In order to turn this into a canning recipe, I’d suggest the following:
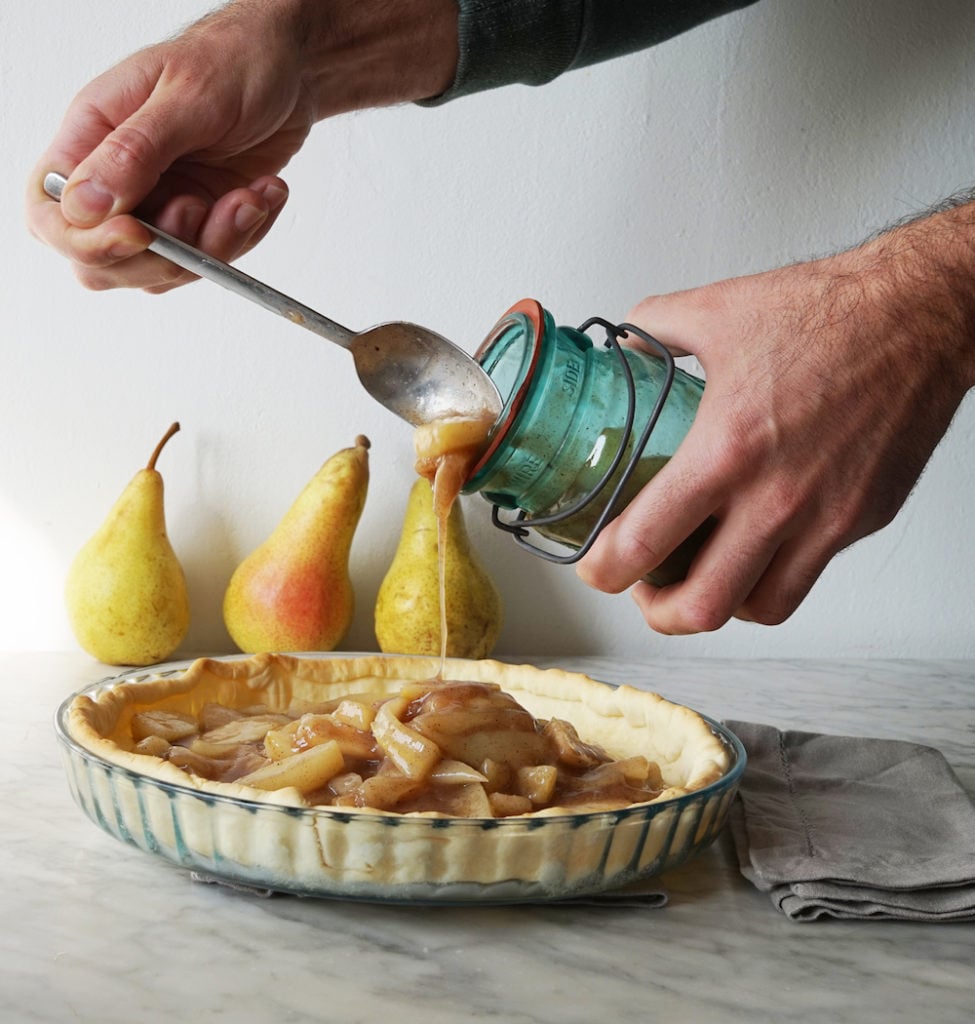
Vanilla Bean Pear Pie Filling
- Cook Time: 25 mins
- Total Time: 25 mins
- Yield: 4 quarts 1x
- Category: Pie filling/dessert
Ingredients
- 18 medium-sized pears of different varieties that are ripened to the point of being slightly soft
- 2 cups sugar
- ¼ cup flour
- 2 teaspoons cinnamon
- 2 tablespoons lemon juice
- 2 vanilla beans cut lengthwise
Instructions
- Wash, peel, core and slice pears. In a large bowl mix pears with remaining ingredients other than the vanilla bean and let stand for thirty minutes, stirring occasionally.
- Place pear mixture in a large kettle and bring to a gentle boil. Reduce heat and simmer for 20-25 minutes, stirring occasionally, until mixture thickens.
- Before you add the pears, just throw half of a vanilla bean that was split lengthwise in the jar. Try to handle it carefully to keep as many seeds in there as possible instead of on your fingers.
- After boiling the mixture, pour into warmed jars.
- Firmly pack the mixture down in the jar, wipe the lip of the jar and place canning lid on top. Secure the metallic ring around the jar.
- Place jars in a water bath for twenty minutes.
- When ready to bake as a pie, add to a blind-baked pie crust using the pie crust recipe of your choice.
What you’re left with is a beautiful pear pie filling. As the vanilla bean sits and ages with the filling, its flavor will permeate the mixture. For something a little more exciting or festive as you move into the Christmas season, swap the vanilla and some of the warming spices out for cranberries for a clean, tart flavor in your pie.
The bottom line: if your family doesn’t have canning as part of its food heritage, be the person to integrate it into your culinary lineage. Have fun with it, and know that as long as you are following safety guidelines, you are going to create amazing, delicious, time-saving products that encapsulate the essence of the season every time.
