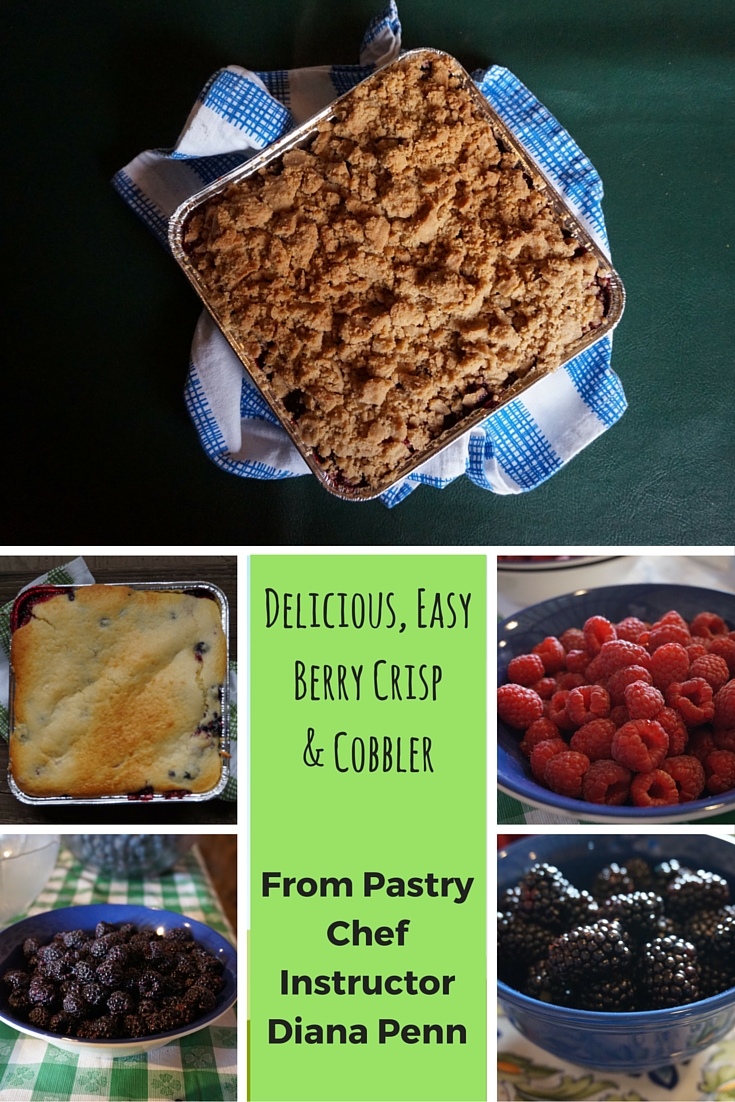
Sometimes fruit crisps turns out looking “like the Sahara desert,” says pastry chef instructor Diana Penn, who taught today’s cooking class at Weaver’s Orchard. “Don’t let them be dusty,” she urged today’s participants. If a fruit crisp topping is too dry, it not only leaves the top too powdery and thin, it also dries out the fruit underneath.
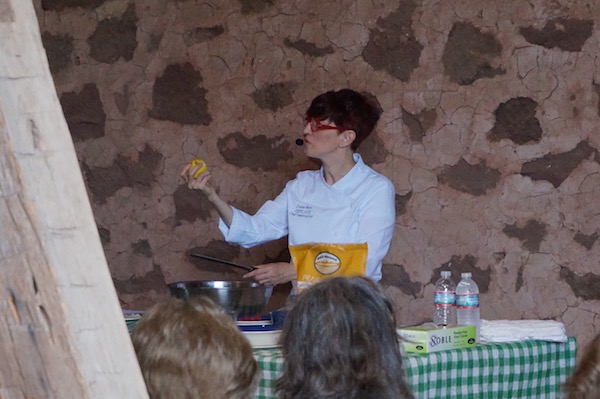
To help today’s attendees avoid “Sahara” berry crisp, Diana Penn–wearing her signature bright red glasses– walked us through the steps she has followed as a pastry chef and now as a pastry chef instructor. She’s been baking professionally for twenty-five years, an interest that grew out of making pizza with her grandmother and that still connects her to those kitchen memories.
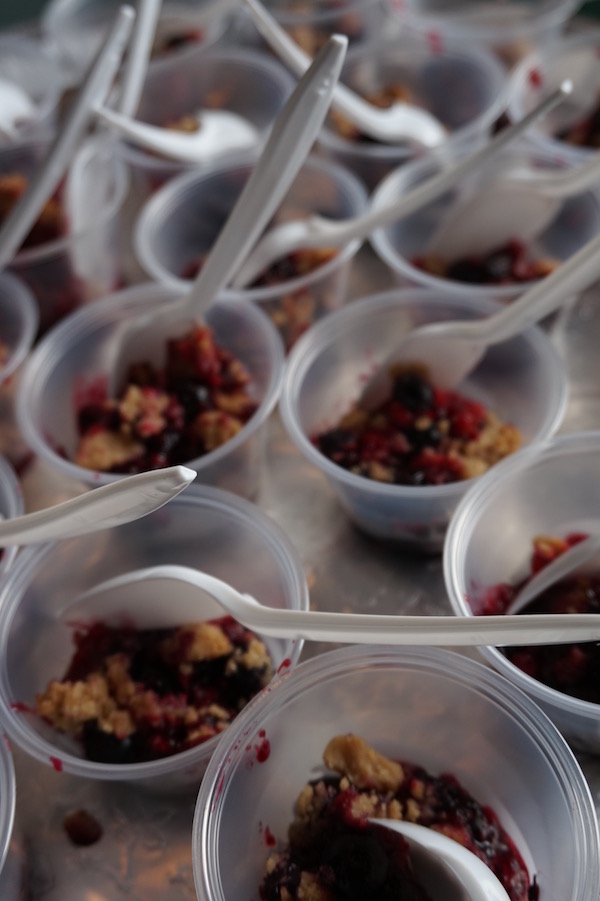
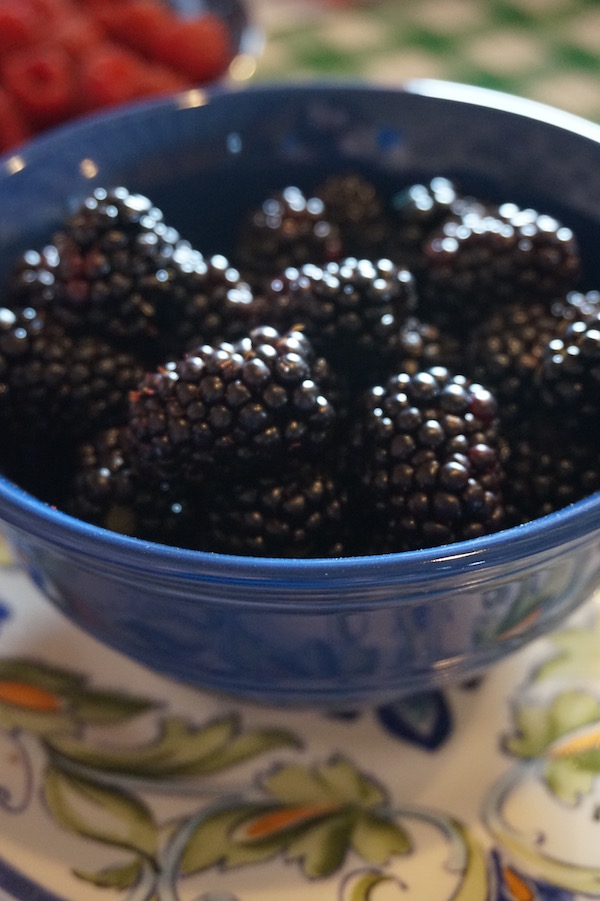
Sampling the blueberry-blackberry-raspberry fruit crisp Diana had made for us to try was convincing proof that we needed to hang on every word of the process as she laid it out. Each piece of fruit had kept its shape, and its flavor had been enhanced–not sugared-up and covered-up–during baking. And the topping tasted rich, buttery and substantial.
How Does She Do It?
Fruit Filling
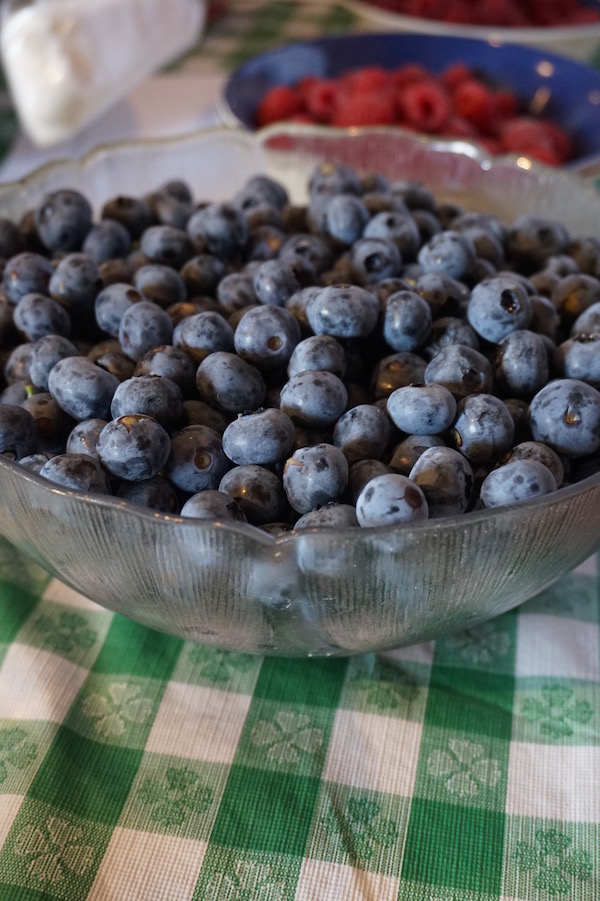
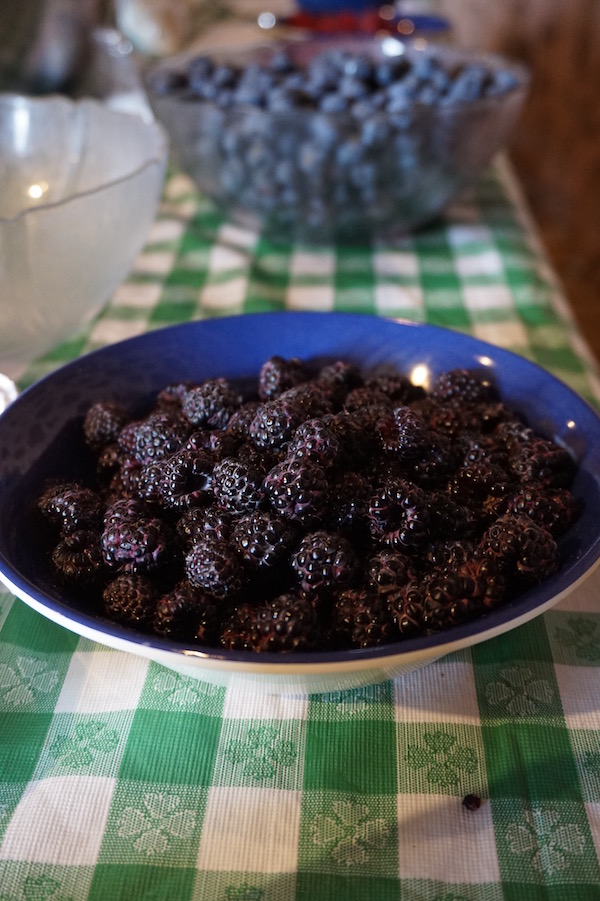
First, Diana worked with the fruit and used the same fruit filling for both the crisp and a cobbler she made later.
To “brighten” the fruit filling, she uses lemon: a microplane to scrape the zest and a handheld juice press to squeeze the juice. Adding lemon to fruit, she says, is like adding salt and pepper to savory foods. Plus, the juice gives the sugar something “to grab onto.”
Then she adds a binding agent. In this case, she used minute tapioca, which just needs liquid and heat to activate it, making it perfect for crisps and cobblers.
Crisp Topping
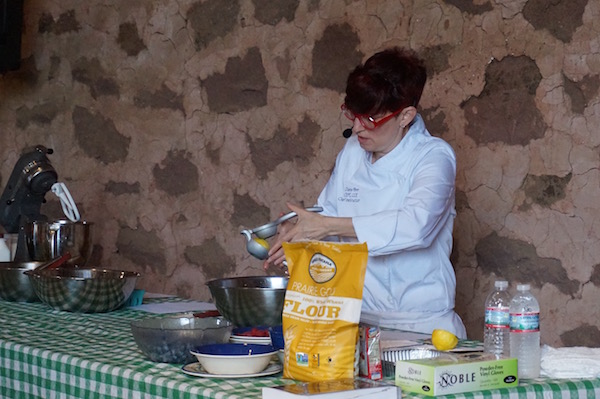
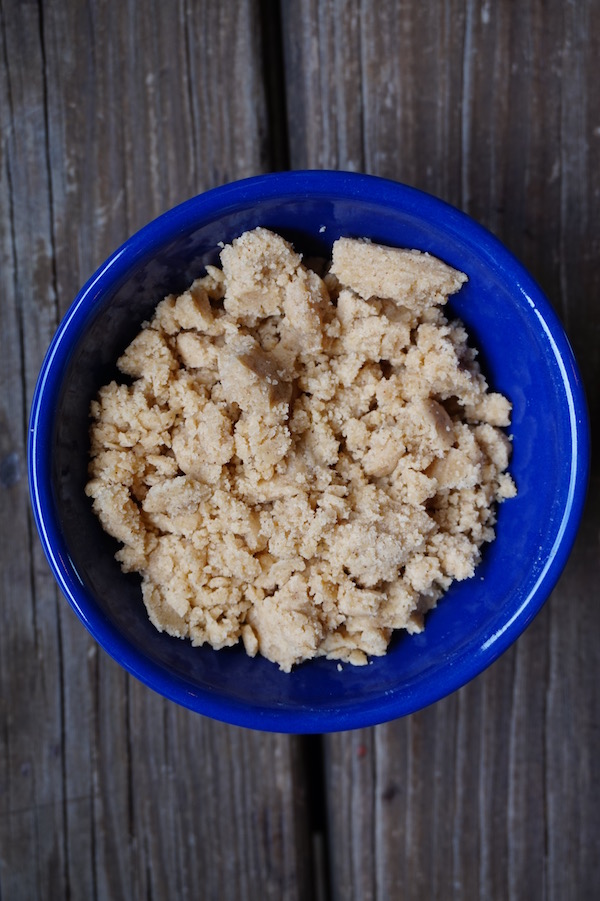
After finishing with the fruit, she moved on to the crisp topping. She uses cold butter–just like she would in a pie dough–and throws it in all at once. If you throw it in little by little, she says, it will melt and the crisp topping will become doughy. The goal is to make rich crumbs. Once you can squish them and they hold together, you’re close. When the crumbs start to build up on the side of your mixing bowl, you’re done.
The attention to detail is well worth it for the flavor, and you can even make a big batch of the crumb topping and keep it in the fridge. You would just need to pull it out the day before you need it so the butter gets to the right consistency.
Assembly & Baking
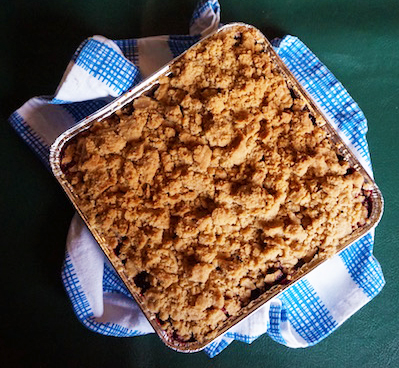
When it came time to assemble the crisp, Diana filled the pan to the brim with fruit. Then she broke the crumb topping, which held together well without actually forming a dough, into chunks. She completely covered the top of the fruit with a thick layer of crumb topping.
“You should not see the fruit underneath,” she explained. If you can see the fruit, the fruit filling will get dried out. “Think of the crumbs as your lid,” says Diana. This lid will mean that steam is cooking the fruit.
How long should you cook it? “Till it’s done,” says Diana. Baking conditions and ovens can vary, but she says you will know a crisp is done when the fruit is bubbling (not boiling) and the crisp is brown.
Berry Crisp

Ingredients
Fruit Filling:
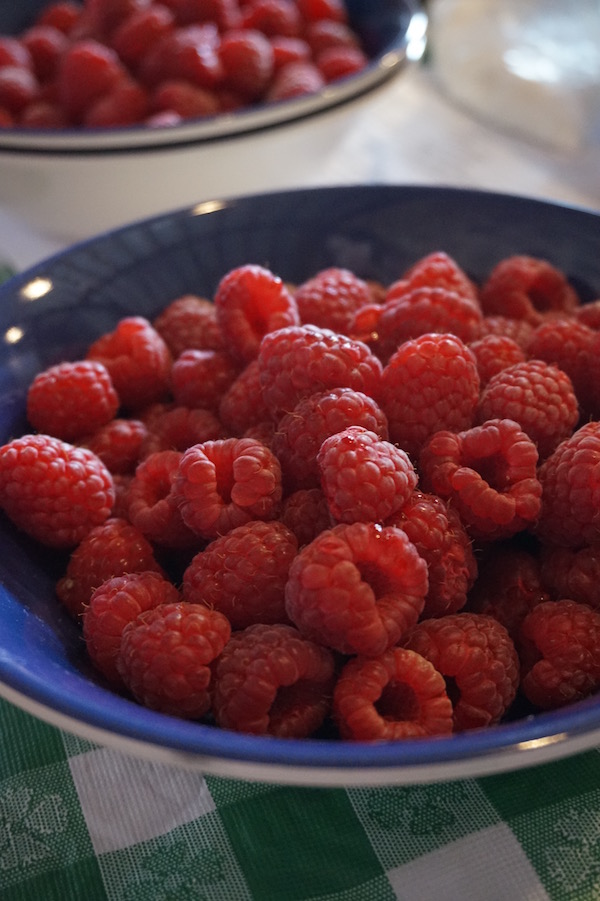
- 6 cups ANY berries
- Juice of half a lemon or lime
- Zest of half a lemon or lime
- 1 sprig or two pinches of spice or herb you like (such as mint)
- 1/4 cup minute tapioca
Crumb Topping:
- 2 cups (16 ounces) all purpose flour (or whole wheat)
- 1/2 teaspoon salt
- 10 ounces cold butter, cubed
- 3 ounces (about 1/3 cup) sugar
- 6 ounces (about 2/3 cup) brown sugar
- 2 teaspoons cinnamon
Instructions
- Mix fruit together gently and set aside.
- Using a tabletop mixer with a paddle, mix dry ingredients together.
- Cut in cold butter.
- Place fruit in pan and crumble crisp topping on top.
- Bake at 350F until fruit is bubbling and crisp is brown.
And a Cobbler, too!
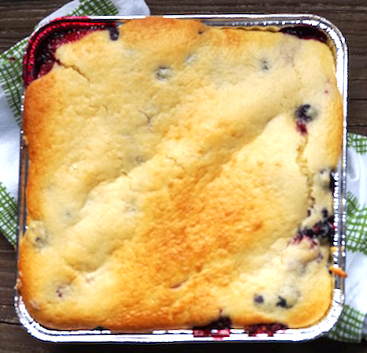
After the class sampled the fruit crisp, Diana started whisking up a blueberry-blackberry-raspberry cobbler.
With cobbler, Diana emphasized the importance of creaming the wet and dry ingredients together slowly. She adds dry ingredients to wet, instead of the other way around, to avoid a lumpy, gluey consistency.
As with the crisp, she loaded the pan full of fruit. Then she used an ice cream scoop to completely cover the fruit with the cobbler batter–again creating a “lid” over the fruit.
And how long should you cook a cobbler? It’s done once it is lightly browned, like a pancake.
Berry Cobbler
- Category: Dessert
Ingredients
Fruit Filling:
- 6 cups ANY berries
- Juice of half a lemon or lime
- Zest of half a lemon or lime
- 1 sprig or two pinches of spice or herb you like (such as mint)
- 1/4 cup minute tapioca
Batter:
- 1 1/2 cups all purpose flour
- 1 1/2 teaspoons baking powder
- 1/2 teaspoon salt
- 2 eggs
- 1 teaspoon vanilla extract
- 1 cup milk or buttermilk
- 3 tablespoons melted butter
- 3/4 cup sugar
Instructions
- Mix fruit together gently and set aside.
- Whisk eggs, sugar, vanilla extract and butter together. (Diana Penn places a damp cloth on the counter under the bowl to keep the bowl from slipping.)
- Whisk flour, salt and baking powder together.
- Cream the dry and wet mixture together: Add 1/3 of the dry mixture to the wet. Add half of the milk to the wet. Add 1/3 of the dry mixture to the wet. Add the other half of the milk to the wet. Add the rest of the dry mixture to the wet.
- Add fruit filling into a pan (sprayed with cooking spray) and pour the batter on top.
- Bake at 350F until fruit is bubbling and cobbler is lightly brown.