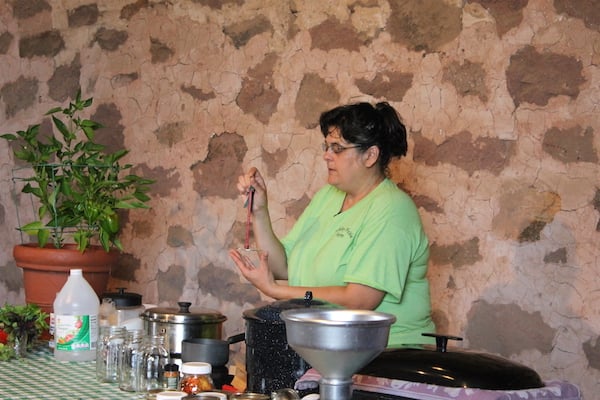
Nan Reinert taught our Cooking Class on Tuesday, August 2. Find her recipes and tips below!
Canning Basics
Always make extra! Canned goods make great presents and once your family and friends start tasting the deliciousness you will be popular!
- Always use the freshest produce. When it comes to pickles, make sure you use cucumbers that do not have a wax coating, like those in the store. Check out your local farmers market!
- Wash your produce well.
- Run your canning jars through the dishwasher or wash them well then place them in boiling water to sterilize them.
- Heat the caps but do not boil them. The ring on the cap is what makes the seal.
- Try your best to pack the jars as full as possible.
- Try to work out any air bubbles once you add the liquid.
- After you fill the jar wipe the rim with a lint free cloth dipped in boiling water. This will clean the rim so the jar seals.
- Place the hot cap on the jar and secure it with the screw ring.
- Make sure you have at least two inches of water over the jars in the canner.
- Start timing your canning process once the water comes to a boil.
- Remove your jars from the boiling canner, set them on a clean towel. Let them sit for about 24 hours.
- After 24 hours, test the tops to make sure they “POPPED.” Any that did not pop are not sealed. Place these in the refrigerator and use them in the next week or two.
- You can remove the screw ring from the sealed jars.
- Store your canned goods in a cool dark place.
- Enjoy!!
CHOW CHOW
This recipe is from my two Amish friends I see yearly at the seed store, Ruth and Louise
Ingredients
Scale
- 2 quarts of Green Beans 1 Large Cauliflower ( separated into small pieces)
- 3 cups Shelled Lima Beans 3 cups of corn
- ¼ Peck of Tomatoes 1 quart of chopped Onions
- 5 Green Peppers chopped 3 quarts of cider vinegar
- 4 cups of sugar ½ cup salt
- 2 tablespoons celery seed 2 tablespoons dry mustard
- 1 tablespoon turmeric
Instructions
- Cut the Green Beans into ½ inch pieces. Cook the Green Beans, Cauliflower, Lima Beans and the Corn separately in boiling water until tender. (This is a brief parboil). Drain the Vegetables and mix them with the Onions, Peppers and Tomatoes. In a large pot bring the vinegar to a boil and stir in the sugar, salt, celery seed, mustard seed, dry mustard and turmeric. Pour the vinegar mixture over the vegetables, bring back to a boil and cook for 20 minutes, stirring. Ladle into hot sterilized jars leaving ¼ inch head space and cap. Makes about 12 pints. Enjoy!
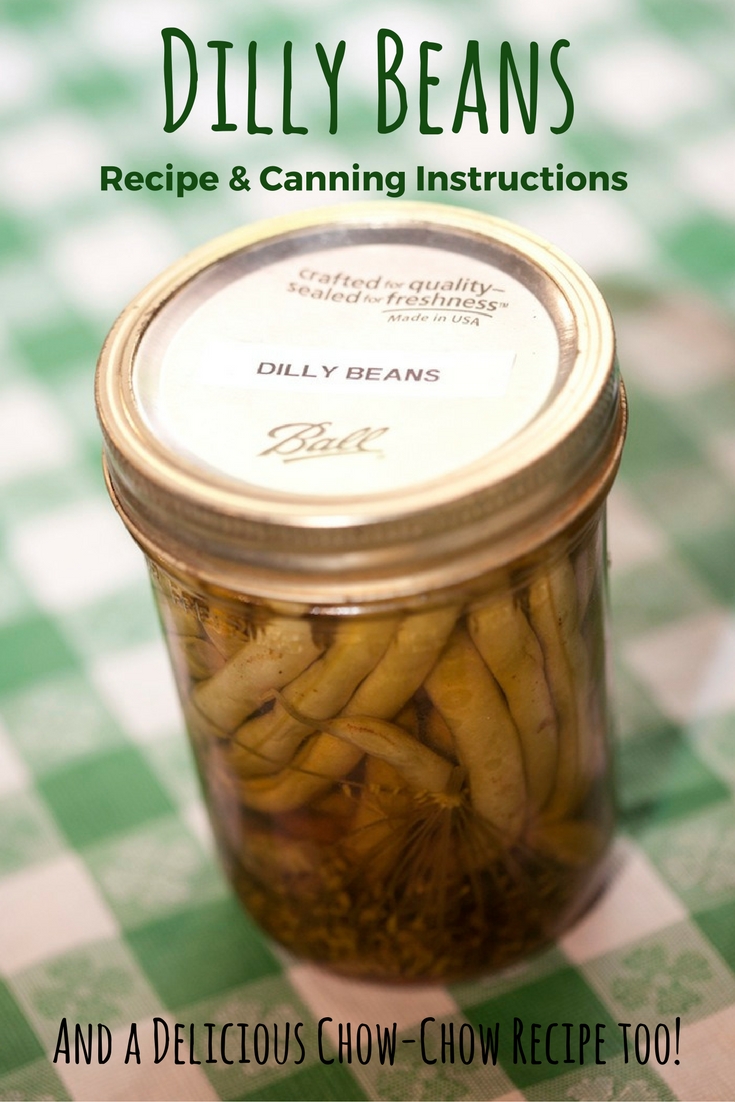
DILLY BEANS
Dilly Beans are delicious with all sorts of meals or as a snack. (This is from the original Ball Blue Book) I have been making this recipe for many years.
Ingredients
Scale
- 2 lbs Green Beans
- Garlic cloves
- 2 ½ cups of vinegar
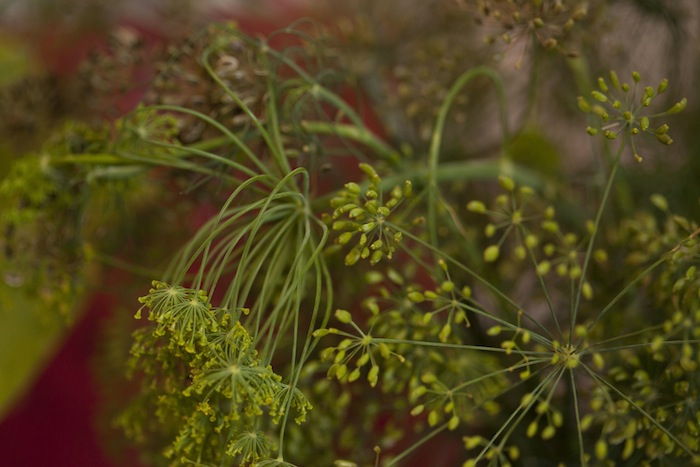
- 4 Dill heads
- 2 ½ cups water
- 1/4 cup of canning salt
- About a teaspoon of cayenne pepper
Instructions
- Trim the ends of beans and place them in a bowl of icy water. Combine vinegar, water and salt in a large pot and bring it to a boil. (The steam produced from boiling vinegar can take your breath away, so be careful not to be directly over the pot.) Using hot sterilized jars, pack the green beans length wise into each jar. Add the following to each jar: ¼ teaspoon of cayenne pepper, a clove or two of garlic and one dill head. Ladle the hot liquid over the beans, leaving ¼ inch head space. Make sure you remove the air bubbles. Place the caps on the jars and process them in a boiling water canner for 10 minutes. Enjoy!