Her “farm” is her back yard. Her passion is to inspire others on the topics of food canning and gardening.
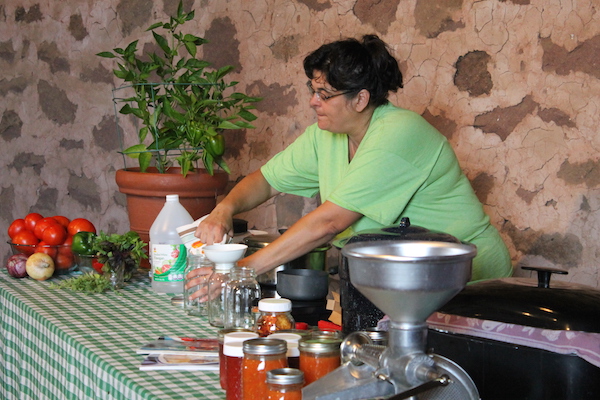
Nan Reinert of Chubby Pickle Farm addressed a full house Tuesday, July 28th at the Weaver’s Orchard weekly cooking class. Tuesday’s topic was preserving tomatoes, but Nan preserves most everything from her garden including tomatoes, peppers, cucumbers and more. She talks to many different groups about canning and gardening.
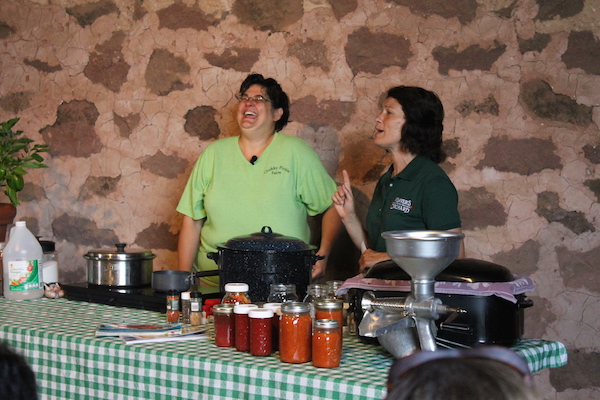
“One of the greatest joys to hear is, ‘Hey I made those pickles,’ or ‘Hey, I gave it a try,’ or ‘I gave ’em out for Christmas!'”
According to Nan, home-canned goods make the best gifts. And though many people shy away from canning due to contamination fears, she encouraged the audience to try it.
“I have been canning for years, and I have never had botulism or food poisoning,” she said with her characteristic sense of humor. “Don’t be afraid. If you do something wrong, you’re gonna know it as soon as you open the cap.”
She has only one warning, “Be careful. You start canning, and you’re gonna have a lot of friends!”
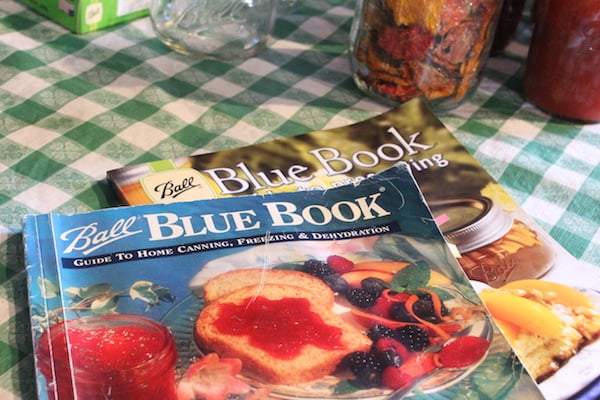
On Tuesday, Nan began with a little “Canning 101,” a lesson for beginners. For detailed information, Nan recommends Ball Blue Book: A Guide to Home Canning, Freezing & Dehydration.
Nan’s basic canning steps:
1. Begin with a sterile area. Nan cleans her work space and creates a “no dog” zone, putting up dog gates so her dogs cannot enter the kitchen. “And go wash your face, because you are about to get the best facial!” she says.
2. Use the freshest produce available, either straight from the garden or farmer’s market. Check for blemishes. Use what is ripe and in season for the best results.
3. Gather materials, including a canning rack, a canning bath filled halfway with water, a canning funnel, a magnet stick for lids, jars, lids and rings. YOU MAY RE-USE JARS AND RINGS THAT ARE IN GOOD CONDITION, BUT NEVER RE-USE THE LIDS. ALWAYS BUY NEW LIDS. Check jars for chips and cracks by running your finger around the jar rim, giving the jars a good, thorough inspection.
4. Sterilize the equipment. You may run the jars and rings through the dishwasher. (When jars are filled using a “hot pack method” as in the case of today’s tomato recipes, the jars must be filled while they are still hot from the dishwasher cycle. If you are not ready to use the jars right away after the dishwasher cycle is complete, keep the dishwasher closed; you may run the washer through a steam cycle to reheat them when you are ready to begin canning.) Remove the lids from their packaging, and separate them from each other. Be careful they do not nest together. Flip them so they line up back-to-back and the water can reach all surface area for sterilization. Place the lids in simmering (not boiling) water, according to package directions.
5. Fill the jars with hot product using a canning funnel, making sure to leave head space of about a quarter or half inch at the top of the jar. Tap the funnel after each filling to ensure all the product goes into the jar.
6. Wipe the jar rim with a clean, lint-free dish towel before topping. Fish the lid out of the hot water using a magnet stick, place it on the jar and secure everything with a dry ring.
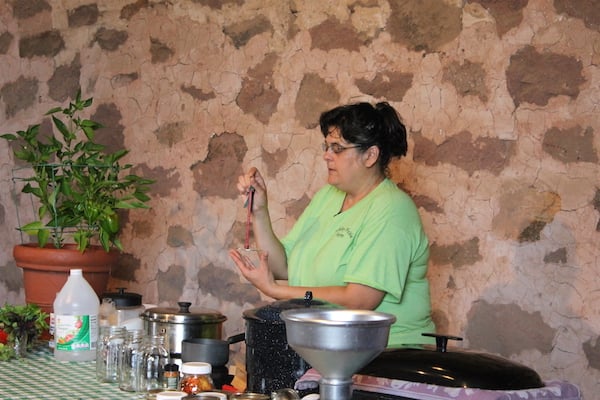
7. Drop the jar into the canning rack within the canning bath. The water should be simmering. Once your whole batch of jars is ready, bring the bath to a boil. The water should be one or two inches over the jars. Cover the pot as you bring it to a boil. SET THE TIMER FOR TEN MINUTES ONLY AFTER THE BATH HAS REACHED A BOIL.
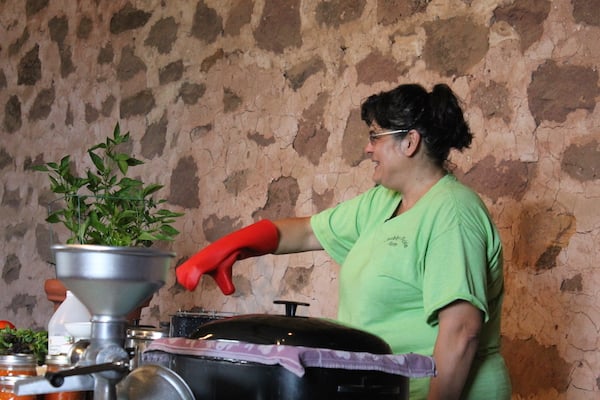
8. Remove the rack from the hot canning bath using a silicone glove or special lifter. Set the jars on a towel, BUT DO NOT LET THE JARS TOUCH EACH OTHER.
9. Wait for the telltale “popping sounds,” the sound of sealed jars. On a properly sealed jar, the middle button on the cap will not move or go up and down. (If a jar fails to seal and the button moves up and down, Nan recommends refrigerating that product and eating it within four or five days. No need to toss it or re-can it!)
10. Store the jars in a dark, closed cupboard to prevent oxidation and spoilage.
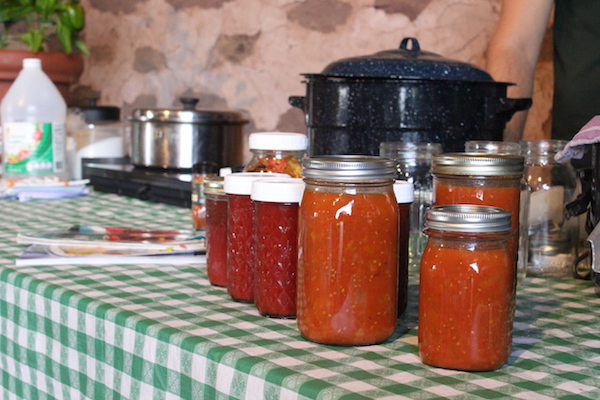
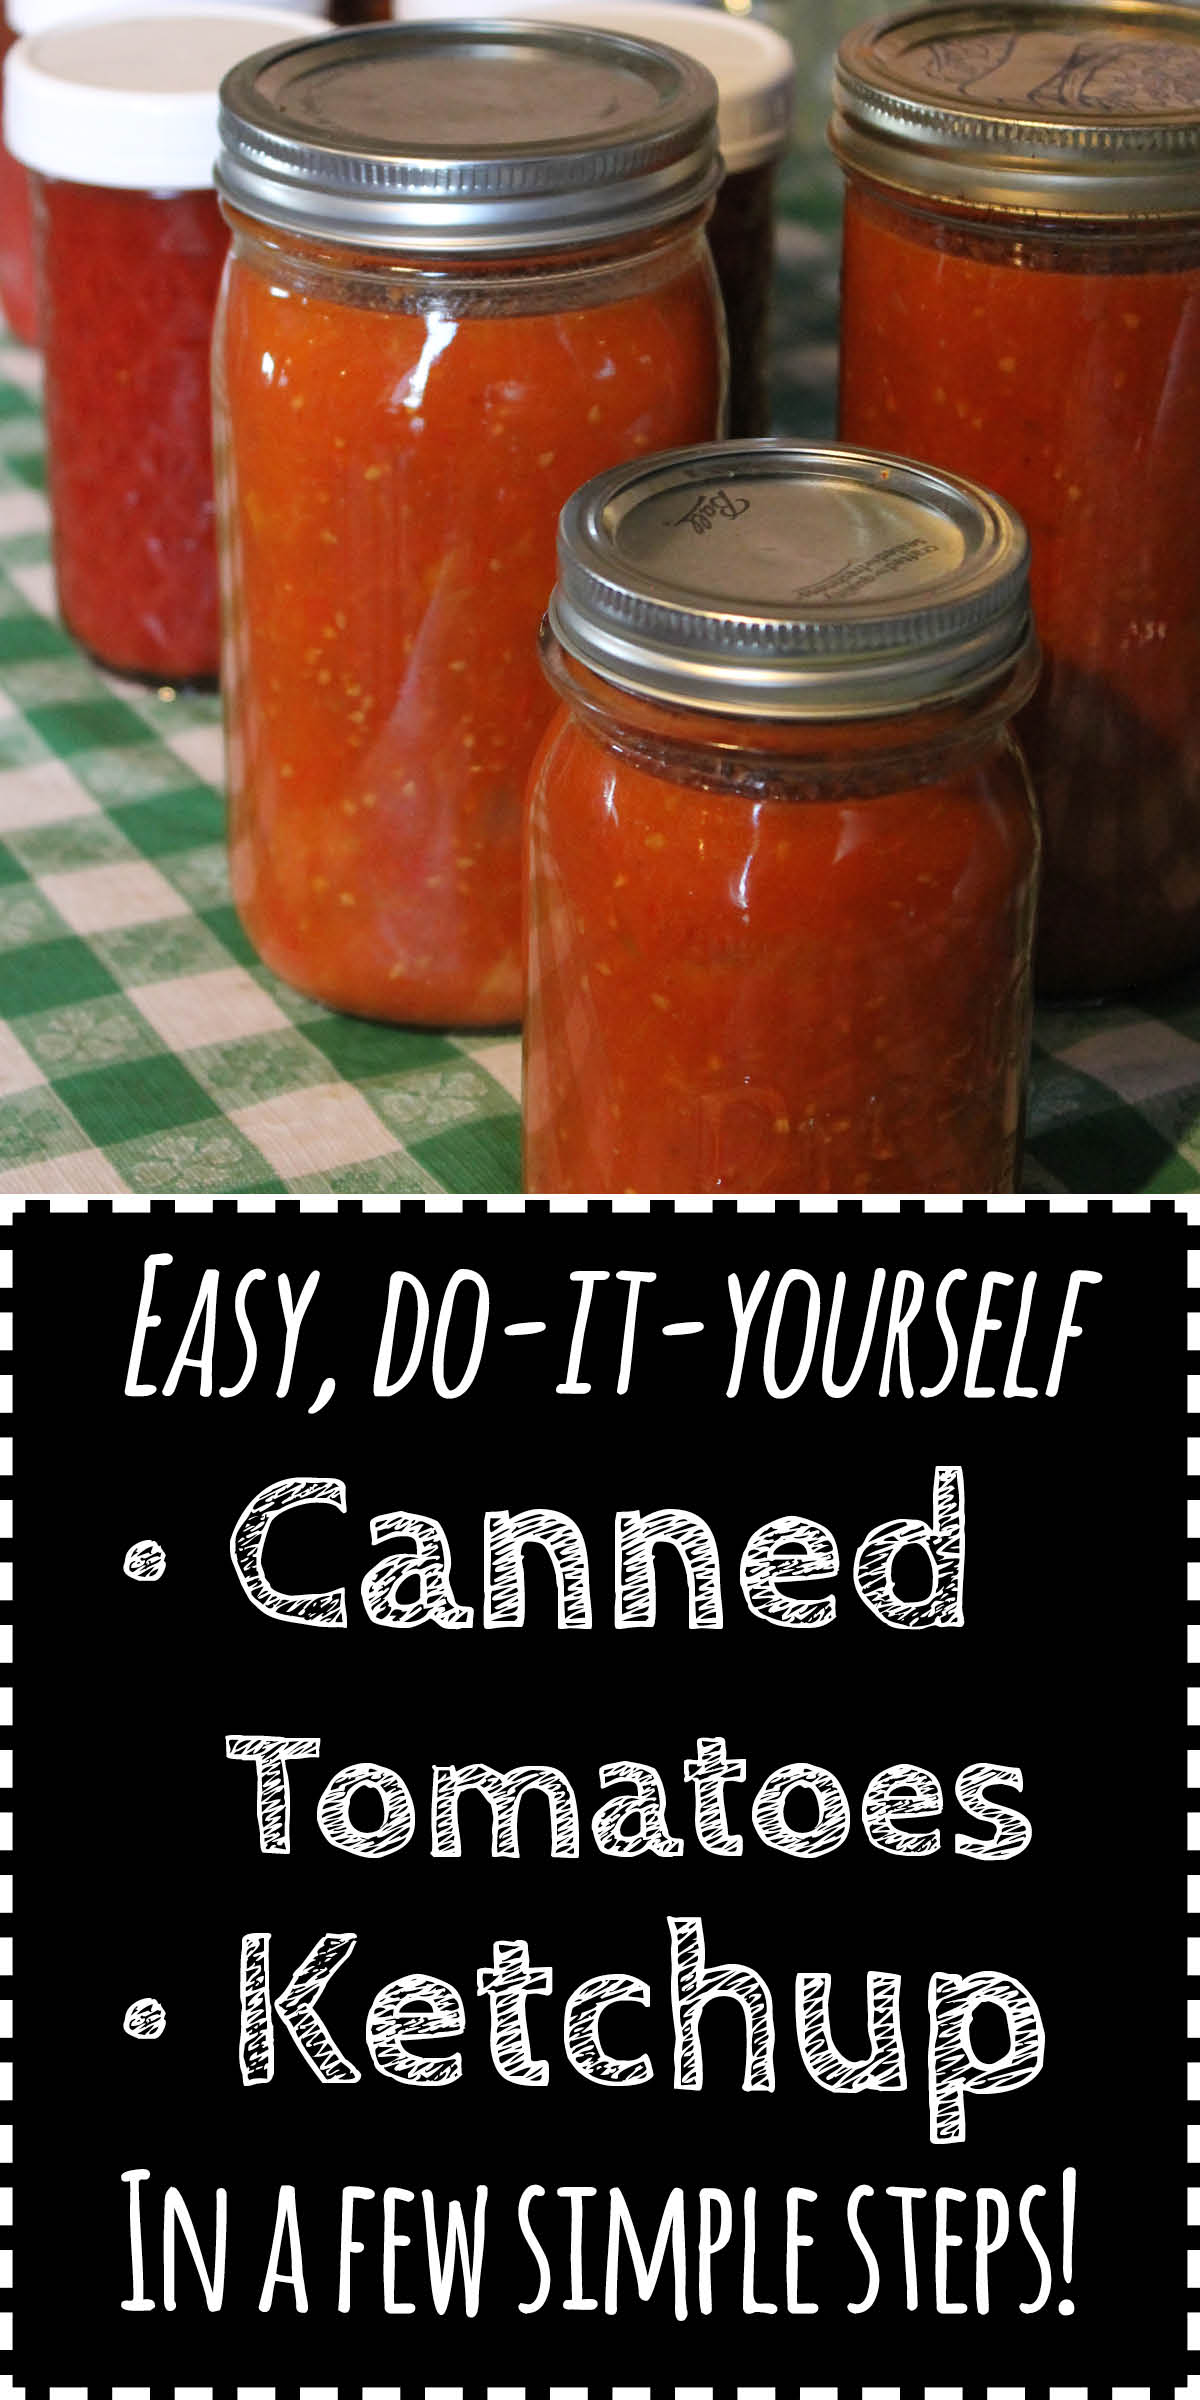
Tomato Ketchup:
PrintKetchup
- Yield: About 3 Cups 1x
Ingredients
- 4 quarts of tomatoes chopped, peeled and cored. (Approx. 25 large tomatoes)
- 1 cup chopped onion
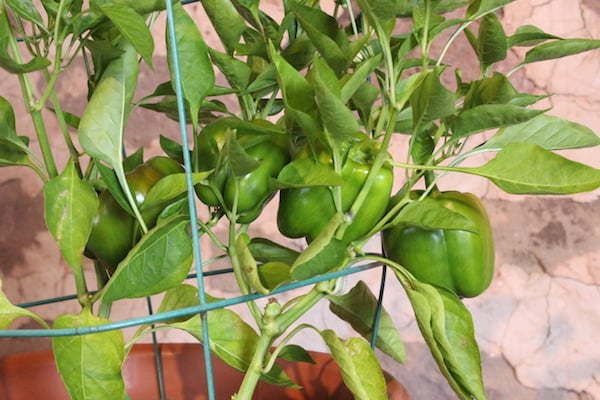
- ½ cup chopped sweet red pepper
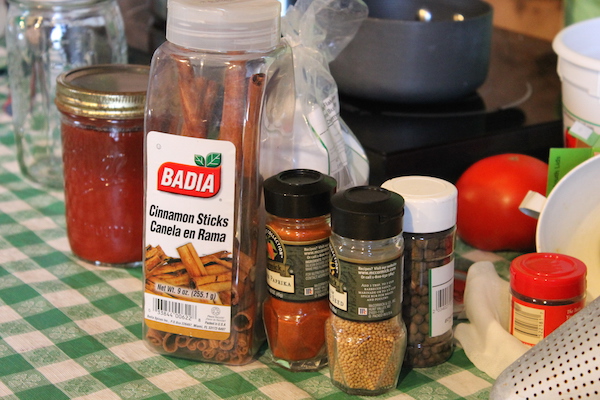
- 1 ½ teaspoon celery seed
- 1 teaspoon whole allspice
- 1 teaspoon mustard seed
- 1 ½ cups vinegar
- 1 tablespoon paprika
- 1 tablespoon salt
- 1 cup sugar
- 1 stick of cinnamon
Instructions
- Cook the tomatoes, onions and pepper until soft. Press through a food mill or sieve.
- Cook the pulp rapidly until it is thick and reduced by one half (about an hour).
- Tie the whole spices in a spice bag. Add the spice bag, sugar, salt and paprika to the tomato mixture.
- Cook gently about 25 minutes, stirring frequently. Add the vinegar, cook until thick. Continue stirring.
- Remove the spice bag.
- Ladle into hot jars, leaving about ¼ inch head space. Adjust the caps and process about 10 minutes in the boiling canner.
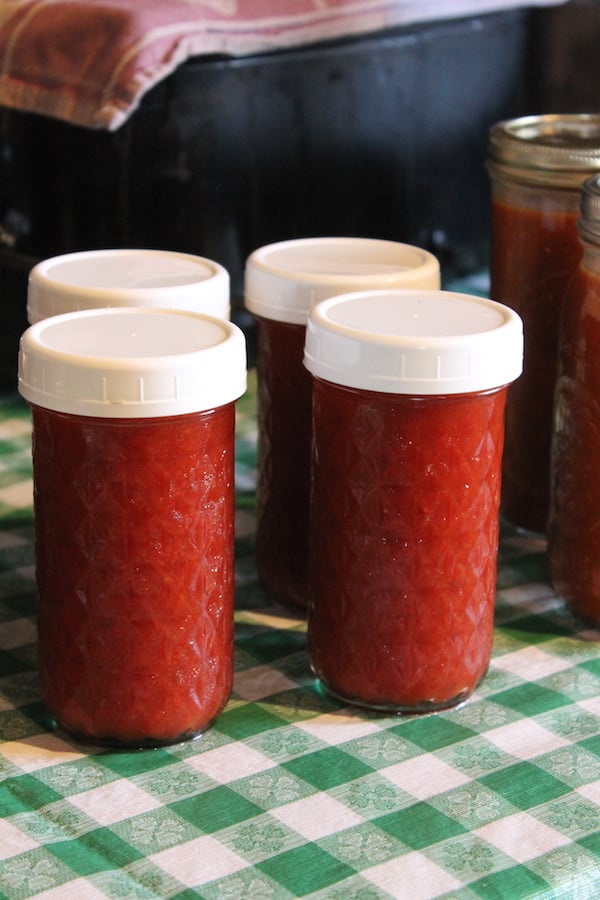
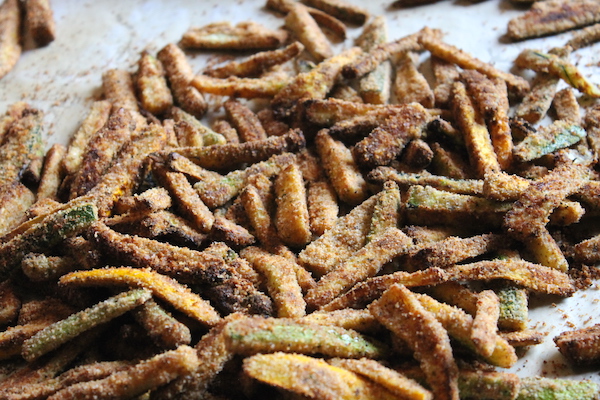
The class enjoyed a sample of ketchup on top of fresh-cooked zucchini fries. Nan suggests using small jars for the ketchup, as most people do not use that much ketchup at one time. She uses a clean spoon to scoop out servings, refrigerating the ketchup after it has been opened. She advises keeping the preserved food for one year and rotating the jars on their shelving as new product is added to storage.
While she enjoys giving the ketchup away as gifts, she most often uses the next recipe, her tomato base, at home, a basic recipe she developed so she can preserve the harvest but make ketchup, sauce or paste at a later date.
“Working a full time job, growing your food and preserving the harvest leaves very little time. Harvest season is the busiest time of the year for me,” she said. “So to save time I came up with a recipe for the tomatoes that I call Tomato Base.”
Tomato Base:
PrintTomato Base
- Yield: About 6 to 8 Quarts
Ingredients
- This is not an exact recipe. Adjust it to what is on hand and in season.
- Examples: Quartered and cored tomatoes, a few onions, peppers and herbs
Instructions
- Fill the crock pot or roaster with quartered and cored tomatoes, a few onions and peppers and herbs. I use a large roaster, it can hold about 40 large tomatoes, 3 large onions quartered, 3 or 4 large peppers cut up and a healthy bunch of herbs (basil and oregano), which I just put on top.
- Add about a ¼ cup of water to prevent vegetables sticking to the roaster.
- Set the roaster on low and cook everything down until it is mostly liquid and thoroughly cooked, about 5 hours on low.
- If you have a food mill: Let mixture cool, remove the herbs, and run everything through a food mill.
- If you do not have a food mill: Once the mixture is cool, remove the herbs, place small batches into a food processor and liquefy.
- Place the liquid back in the roaster. DO NOT COVER WITH A LID. Attach a kitchen towel to a cookie cooling rack using clothespins. Place the cookie cooling rack/towel cover over the roaster instead of the lid. Cook this on a medium heat until the water has evaporated and the liquid is thicker.
- Ladle into hot jars, leaving about ¼ inch head space. Adjust the caps and process about 15 minutes in the boiling canner.
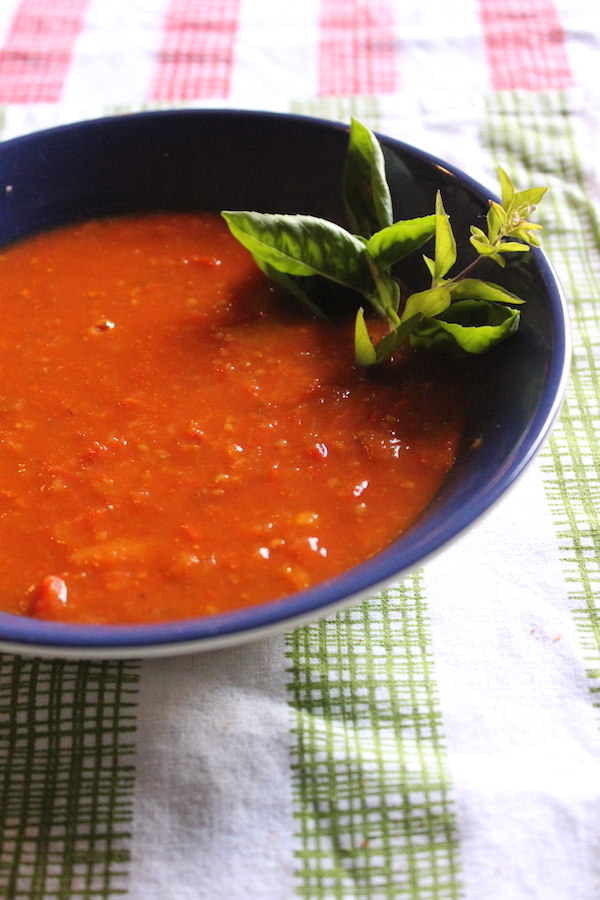
“During the winter, I use the tomato base for many different recipes. While preparing a meal, I will cook a jar of it until it gets thick, add some herbs and put it over pasta. It is great as is, put in a stew, added to any vegetables or as an addition to chili. Add it to any broth and it makes a great soup base. If you add a little milk or cream and some spices, it makes a great tomato soup. It’s really good on potatoes and any grain like rice, quinoa, and farro.”
The class sampled the tomato base on a DiBruno Brothers crostini, available in the Weaver’s Orchard farm market.
It takes Nan about a day and a half to complete a batch of tomato base, usually over a weekend beginning Saturday. However, like any busy person, she multi-tasks.
“It’s not constant work,” she said. “Believe me, the laundry gets done, the house gets clean, the garden gets done and at the end of the weekend, I have a whole batch of base.”
To learn more about Nan, follow her on Facebook at “Chubby Pickle Farm.” She is happy to share tips and respond to comments and questions.