I considered getting rid of my food dehydrator recently when I moved. It was one more box to cram into a Pod storage container that had about as much space as a stomach after a Thanksgiving feast. Nevertheless, thinking of the hundreds of fruits I would dry in our new home, I squeezed it in.
Just one problem. It sat in storage for a year, and when I pulled it out to use it for my first ambitious fruit-drying project, it smelled like Band-Aids. Yuck. What was this appliance made out of? It was an old food dehydrator my mom had picked up at Goodwill. Was the plastic even up to code anymore? Needless to say, I no longer use that food dehydrator!
But I still want to dry fruit. It’s a great, safe way of preserving that harvested goodness to snack on later.
Here’s how I’ll be drying fruit in the oven this pick-your-own season, and here’s how you can too.
1. Prepare the fruit well.
Make a big batch. The average oven can dry 4-6 pounds of fruit, and since drying in the oven is not as efficient as using a food dehydrator, you want to make the most of it. Choose the best quality fruit you can, harvested during its peak local season. When it comes to strawberries, for instance, the site The Spruce Eats says, “Keep in mind that the more flavorful the fresh strawberries you start with are, the more delicious the dehydrated version is.” Okay, well, if they’re from Weaver’s, that part’s definitely covered!
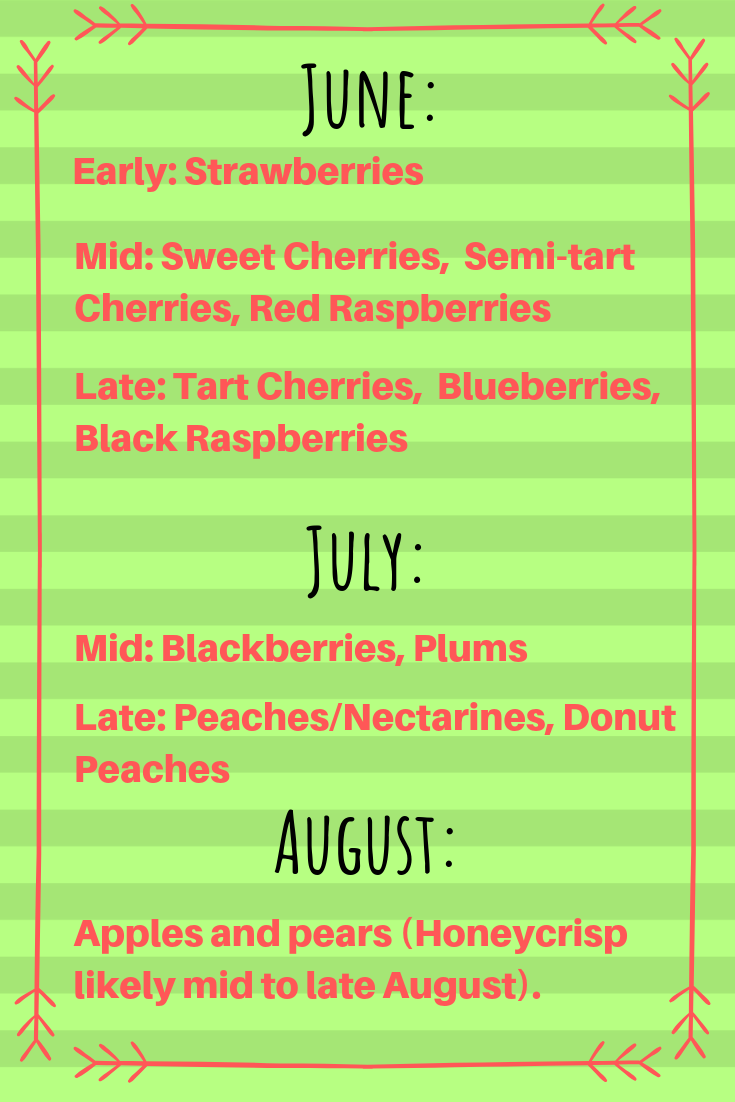
Here’s an overview of approximately when fruit ripens each month at Weaver’s Orchard. Strawberries are currently ripe and will be at their peak through June 8, 2019.
Begin the dehydrating process by making sure the fruit has been washed well.
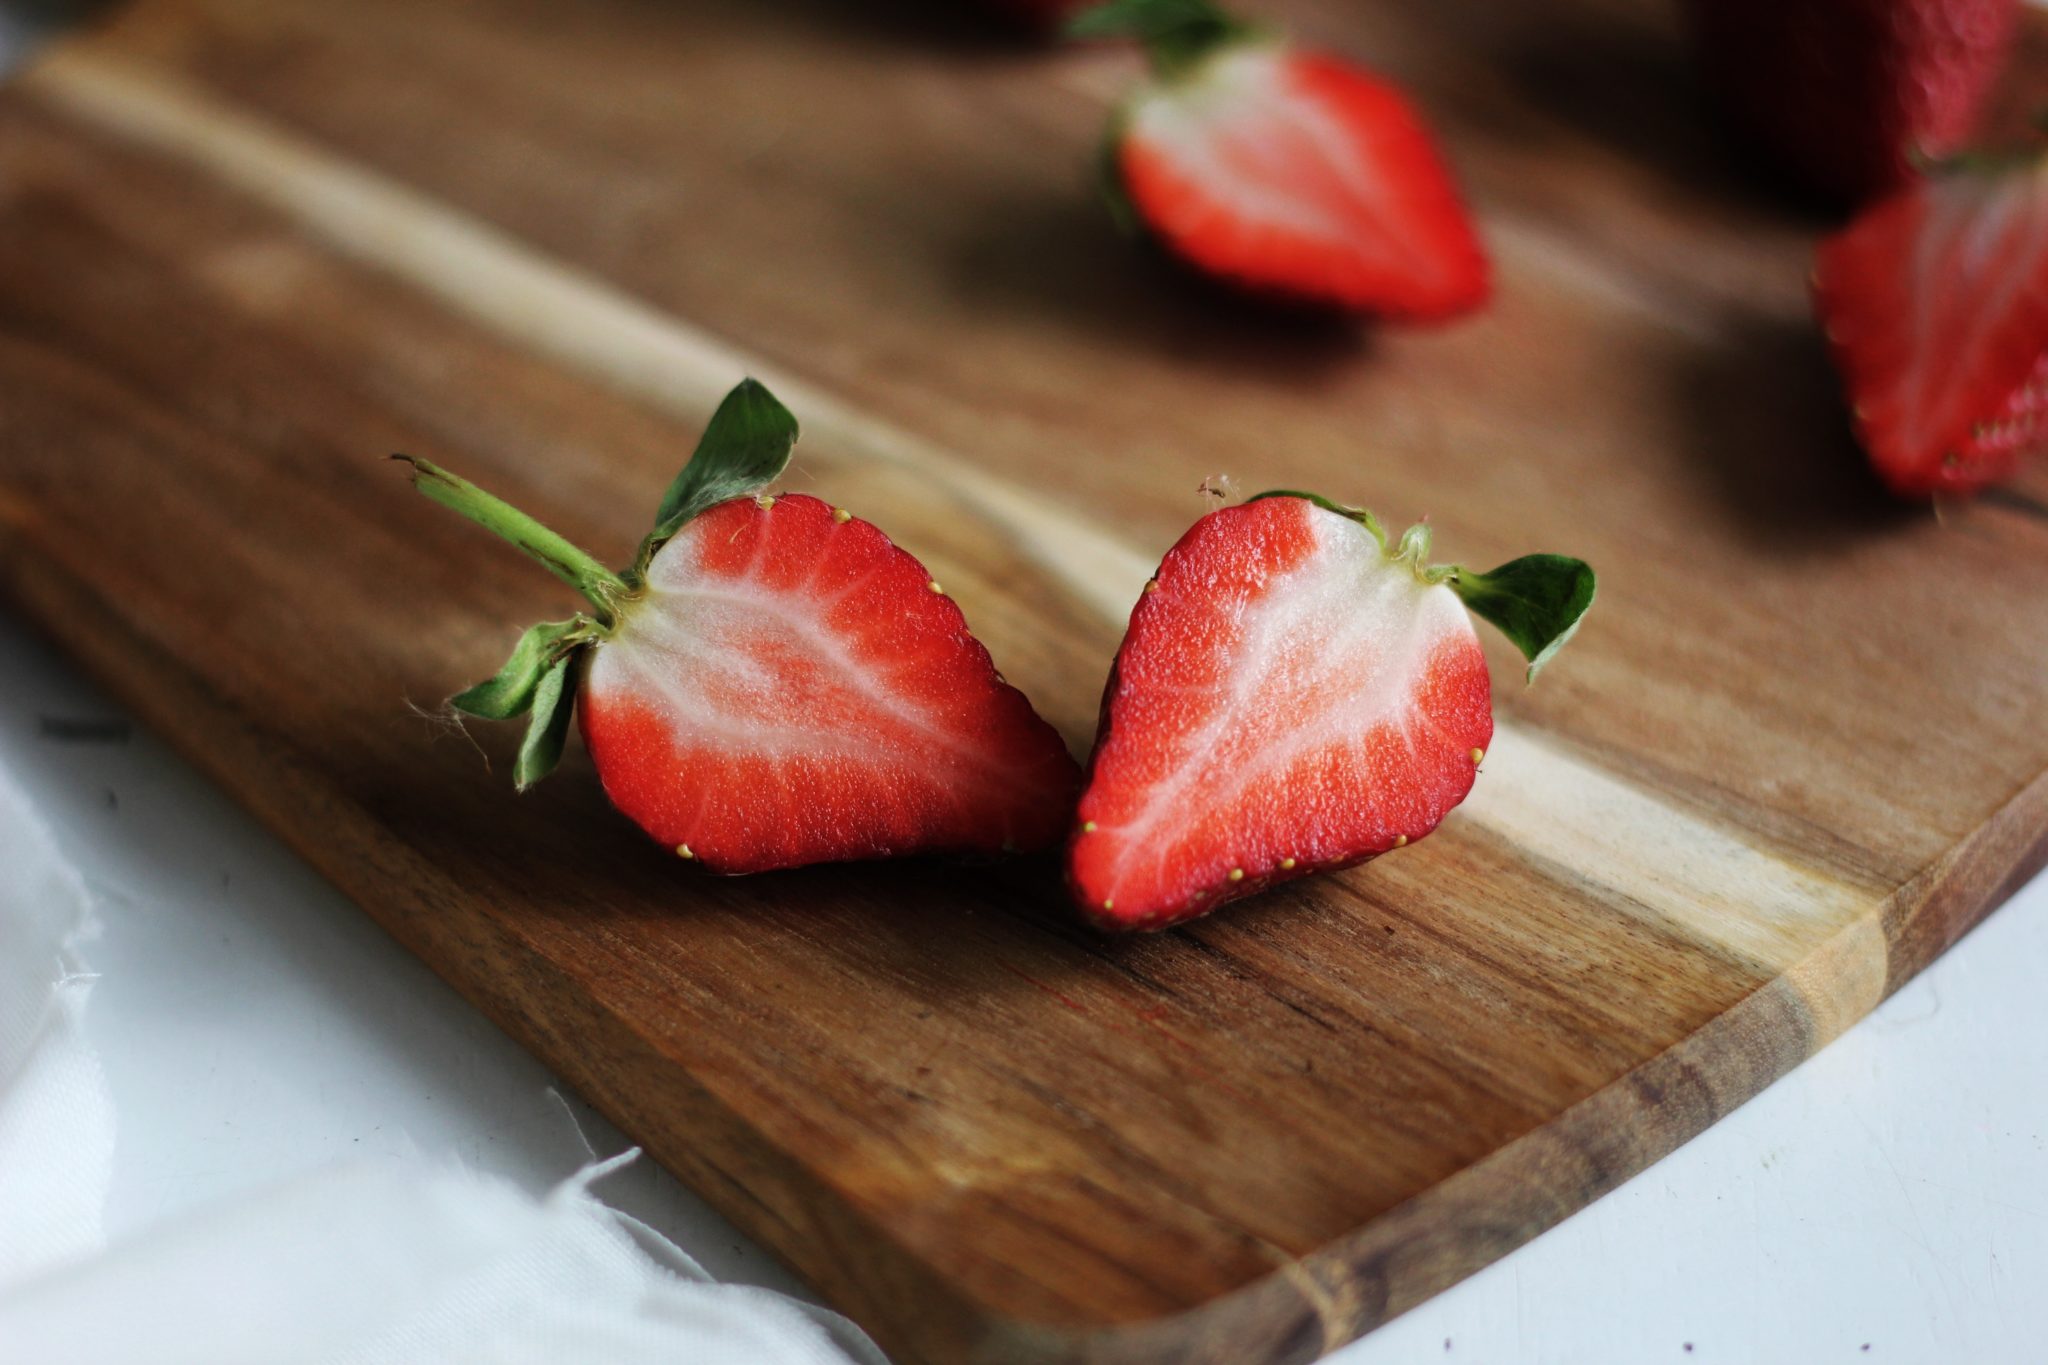
Keep apricots, raspberries, blueberries and cherries whole, but remove any pits. Remove any damaged portions. Remove the tops of strawberries and cut them in quarters (if large) or half (if small). Keep slices and sizes uniform so they’ll be done around the same time. You don’t have to peel fruit like apples and peaches, but unpeeled fruit does take longer to dry.
Dip the fruit in lemon juice. (It helps preserve color.)
Place the cut sides up on a parchment-lined baking sheet, or on a greased cooling rack on top of a baking sheet so you get extra air circulation. The sugars in the fruit can turn sticky as they dry, hence the need for parchment paper or greasing. Also to keep it from sticking, turn the fruit every hour or two, with a spatula.
2. Provide the right temperature and good air circulation.
Spread the fruit out on the pan so air will flow between the pieces. Don’t put them all the way up to the edge of the baking sheet, either. Let air circulate at the edges.
“Air current speeds up drying by moving the surrounding moist air away from the food,” says the University of Georgia Cooperative Extension.
Place the fruit in a 140F oven, or if your oven won’t go that low, use the “keep warm” setting with an oven thermometer for best results. Don’t turn it up! Fruit cooked at a higher temperature will appear dry but will still be wet on the inside and then get moldy later! Convection ovens with fans work best. If your oven isn’t equipped with a fan, you can place a fan outside the oven.
Place the trays three to four inches from the sides of the oven, and allow two to three inches between oven racks so the heat will be evenly distributed.
Keep the oven door slightly open to provide more air circulation.
3. Check and condition the fruit.
Inspect the fruit for any remaining moisture. When you press on the fruit, no moisture should come out. The texture should be pliable but not sticky. For strawberries and other berries, see if two of the berries stick to each other. For larger fruit like apples, fold it in half to see if the halves stick together. If they stick, put them back in the oven. It’s important that the fruit is no longer moist because that means that it won’t spoil due to bacteria, yeast or mold.
Let the dried fruit stand at least 30 minutes to an hour, and then check again for moisture.
4. “Condition” the fruit.
Conditioning is important because it reduces the risk of mold developing later on. Here’s how to do it:
Fill glass jars about two-thirds full of fruit, and put the lid on. Keep the fruit jarred for seven to ten days, shaking the jars a few times a day to redistribute the contents. Watch for condensation on the sides of the jars. If any appears, remove the fruit from the jars and place it back in the oven for another half hour or hour.
Once the fruit has been properly conditioned, it should keep for a full year if stored at about 60F. That means that when you dry the fruit in season, it’ll last you all the way until the pick-your-own season for that fruit rolls around next year!
This will get you started, and if you want to explore a very in-depth guide, I recommend checking out the University of Georgia Extension’s manual. It will tell you everything you need to know, including other drying methods besides using your oven!


