Growing and Preserving the Harvest: Chubby Pickle Farm Pickles from Deep Focus on Vimeo.
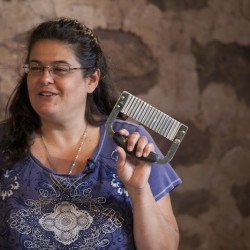
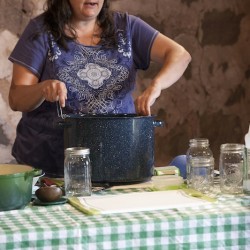
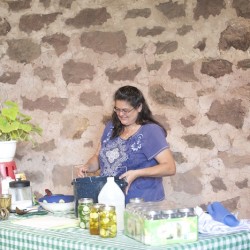
Nan Reinert of Chubby Pickle Farm has some advice about pickle making: “Start with refrigerator pickles, move on to dill…then pickle everything!” At the Weaver’s Orchard Cooking Class she led on Tuesday, July 29, Nan started by making refrigerator pickles, moved on to dill, and then gave helpful hints on everything, including canning.
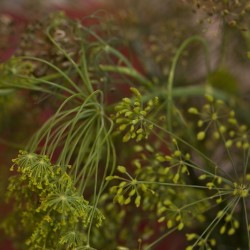
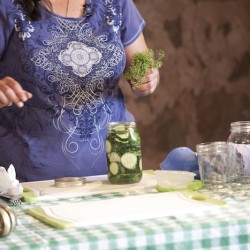
Chubby Pickle Farm isn’t a traditional farm with barns and silos and tractors. The “pickle farm” is Nan’s back yard, where she grows almost everything she eats—not just on the ground, but in pots and hanging baskets too. Dill and garlic—perfect for seasoning pickles–are also important crops on her farm. Dill is a great pest deterrent, and garlic is one of the few plants that grows over the winter. Nan separates the sections of the garlic bulb and plants them finger deep in September for a tasty harvest in mid-July. She also uses all parts of the dill plant for seasoning. Leaves, which are the least flavorful, can be harvested at any time. The flowers have more flavor and add a decorative touch to a jar of pickles. Dill seeds provide the most flavor and can be used whole or ground.
Nan also preserves all she can by canning, drying or freezing. And she encourages others to do the same. If you can’t grow your own, she recommends buying fresh produce at a local farmer’s market and preserving it at home.
When it comes to pickles, Nan says:
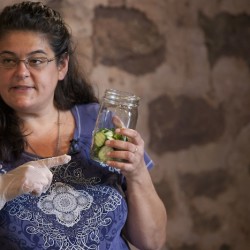
“There are so many types and everyone has a favorite! Here are two recipes I use at Chubby Pickle Farm. Everyone in my family loves them and it is hard to keep up with the demand. Always make extra because once you start showing up at summer outings with fresh homemade pickles, the requests start coming!
“There are a ton of recipes for pickles online, so experiment and try something new! They are easy to make and can be canned or made just as refrigerator pickles. The longer a pickle sits in the brine the better the flavor. So those pickles you make in the heat of the summer are even better in December. Homemade pickles make great gifts too!”
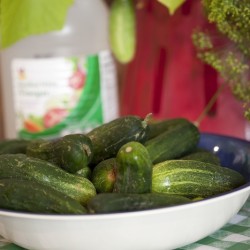
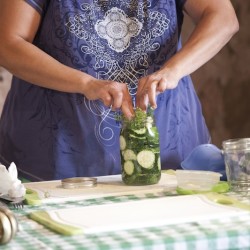
To make Nan’s Bread and Butter Refrigerator Pickles, always start with cucumbers that have not been wax-coated. If you don’t have homegrown cucumbers, buy the freshest ones available at a farmer’s market. Make sure they have no blemishes.
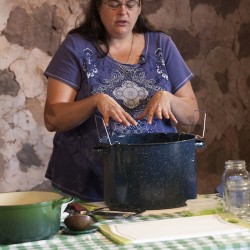
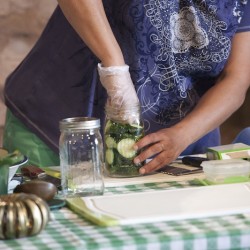
When you’re ready to pickle, clean your kitchen and work area well. Then wash your cucumbers thoroughly with plain water or a vinegar-water solution. Slice them any way you like—in spears or chips—but never peel them, or your pickles will be mushy. Chips pickle faster as they absorb the brine more quickly. Nan likes to use a waffle-cutter to make chips, just because they look fancier.


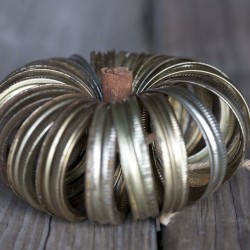
You’ll need 4 quart-sized canning jars with lids and rings for this recipe. Nan prefers the wide-mouthed variety, but traditional jars will work. Even for refrigerator pickles, jars must be sterilized; you can do this by running them through a clean dishwasher. Don’t open the dishwasher door till you’re ready to use them! (They do not need to be hot, just clean.) When ready to start, heat the lids in a pan of water, but don’t boil them. To keep them from sticking together, place the first one right side up, and the next one upside down. Continue this alternating pattern. Wash the rings. Rings don’t have to be sterilized, since they won’t touch the food.


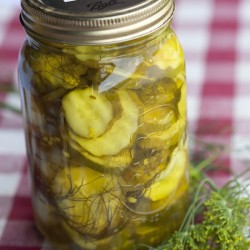
Bread and Butter Refrigerator Pickles (Dad’s Favorites)
Makes 4 quarts
Ingredients
- 5 cups sugar
- 3 cups white vinegar
- 1/3 cup canning salt (no impurities or iodine)
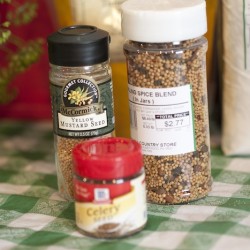
- 1 teaspoon celery seed
- 1 teaspoon mustard seed
- 1 teaspoon turmeric
- 1 teaspoon dry mustard
- 4 to 6 onions sliced thin (optional)
- Approximately 25 cucumbers sliced any way you like
Instructions
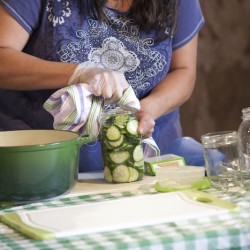
- Slice up your cucumbers any way you like and pack them tightly into clean sterile jars. (Twist them, turn them, jam them in!)
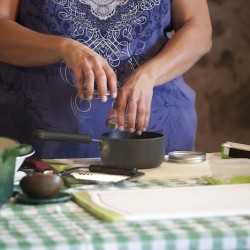
- Make the brine by heating up the vinegar (DO NOT BOIL) in a large pan—do not use aluminum or copper pans or utensils. (These metals react with the vinegar and give the brine a tinny taste.)
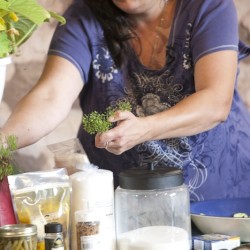
- Slowly add the sugar, stirring until it dissolves. Add all the other spices to the brine; stir well.
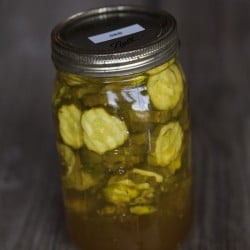
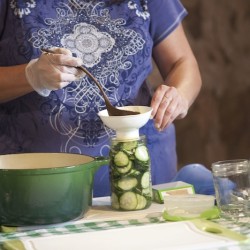
- Ladle the hot brine over the cold cucumbers into jars leaving ¼ inch headspace. Wipe the rim with a lint free cloth dipped in boiling water, place a heated cap on the jar and screw on the ring.
- Let all the jars sit for 24 hours and then place them in the refrigerator. Refrigerator pickles do not need to have an airtight seal like canned pickles.
- Refrigerator pickles will last a year.

To make dill pickles, follow Nan’s instructions for Canning Basics. After you’ve cleaned your kitchen and turned it into a “sanitary zone,” Nan recommends washing your face as well. With all that water boiling away in your kitchen, you’ll get a world-class steam facial!

Canning Basics
Always make extra! Canned goods make great presents and once your family and friends start tasting the deliciousness you will be popular!
Ingredients
- Produce
- Jars
- Lids
- Rings
Instructions
- Wash your produce well.
- Run your canning jars through the dishwasher or wash them well, and then place them in boiling water to sterilize them.
- Try your best to pack the jars as full as possible.
- Heat the lids but do not boil them. Remove lids easily from hot water by using a magnetic lid lifter.
- The ring on the cap is what makes the seal.
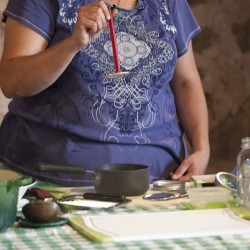
- Try to work out any air bubbles once you add the liquid. (Slide a butter knife along the inside edge of the jar.)
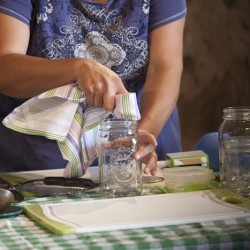
- After you fill the jar, wipe the rim with a lint-free cloth dipped in boiling water. This will clean the rim so the jar seals.
- Place the hot cap on the jar and secure it with the screw ring.
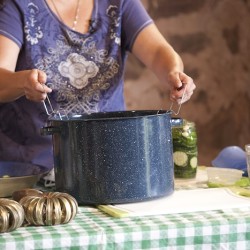
- Make sure you have at least two inches of water over the jars in the canner.
- Start timing your canning process once the water comes to a boil.
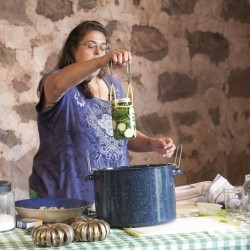
- Remove your jars from the boiling canner and set them on a clean towel. Let them sit for about 24 hours.
- For easy removal use a jar lifter or silicone gloves
- After 24 hours, test the tops to make sure they “POPPED”. (Push on the lid and make sure it does not move up and down.) Any that did not pop are not sealed. Place these in the refrigerator and use them in the next week or two.
- You can remove the screw ring from the sealed jars.
- Store your canned goods in a cool dark place. Enjoy!
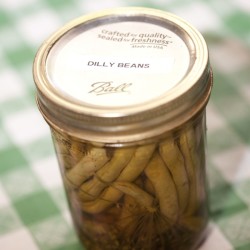
Basic Dill Pickle
Makes 7 Quarts
Ingredients
- 4 cups water
- 4 cups white vinegar
- ¾ cup sugar
- 8 pounds pickling cucumbers
- ½ cup pickling salt
- 3 tablespoons pickling spices wrapped in cheese cloth*
- 7 heads fresh dill
- 7 garlic cloves
Instructions
- For crispy pickles, put the cucumbers in a bowl of ice water for about 2 hours before cutting. Then slice up your cucumbers any way you like– or keep them whole. Make the brine by heating the water, vinegar, sugar and pickling salt. Drop in the pickling spices wrapped in cheesecloth. (Do not use an aluminum or copper pot or utensils for making brine.)
- Bring the brine to a boil, then simmer it for 15 minutes. Sterilize the jars either in a dishwasher or in a boiling water bath. Pack the hot jars tight with the cucumbers, one dill head and one garlic clove. Remove the cheesecloth wrapped pickling spices and ladle the brine into the jars leaving ½ inch headspace. Wipe the rim with a lint free cloth; place a heated cap on the jar and screw on a ring. Place the jars into the canner, making sure they are covered by 2 inches of water. Process at a full boil for 5 minutes. (Start timing when the water comes to a full boil.) Remove your jars after 5 minutes and place them on a towel.
- Let them sit for 24 hours. After 24 hours, make sure they all are sealed by testing the tops. Place them in a cool dark place for storage. These will get better as they sit and will stay good for about a year. If any did not seal, place in the refrigerator; pickles will keep for about 6 months.
- *To put spices in cheesecloth, cut a square of cheesecloth, about 9 by 9 inches. Cut another narrow strip for tying it. Sterilize both pieces by placing them in boiling water. Cool the cloths, then place spices in the center of the square, wrap it up like a pouch, and tie it with the strip.


For more tips from Nan Reinert, check out Chubby Pickle Farm on Facebook.